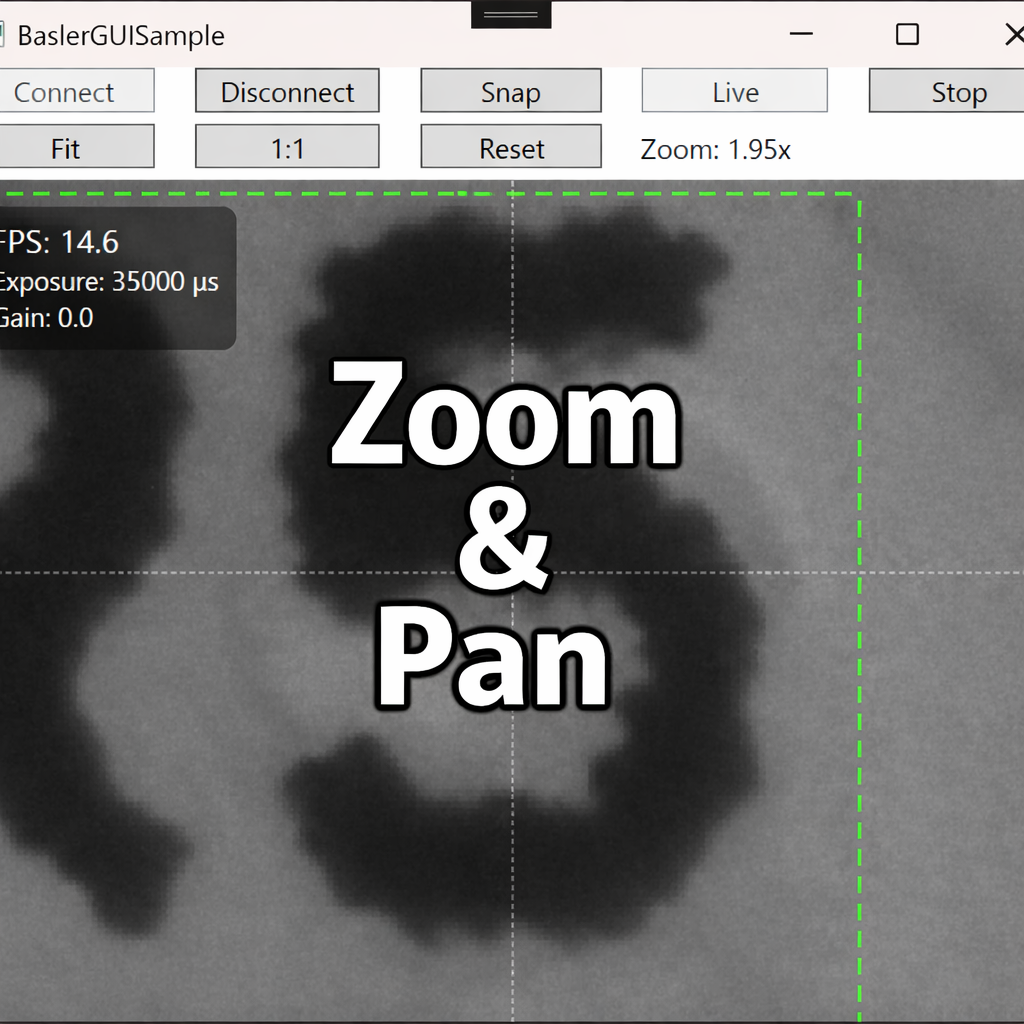
Once your live view is working, a natural next step is highlighting only what moved.
In this article, we implement a simple background subtraction pipeline to detect motion regions, draw bounding boxes, and display the results in a WPF Image.
✅ Environment
Because this implementation converts between BitmapSource and Mat, install the NuGet package:
OpenCvSharp4.WpfExtensions
| Item | Details |
|---|---|
| Camera | Basler acA2500-14gm |
| SDK | pylon Camera Software Suite |
| Language / GUI | C# / .NET 8 / WPF |
| Libraries | OpenCvSharp4 (OpenCvSharp4.Windows, OpenCvSharp4.WpfExtensions) |
Recommended camera settings (for stable subtraction):
Set ExposureAuto=Off, GainAuto=Off, and keep illumination stable (reduce flicker).
Prerequisites from earlier posts (reference):
Implementation Overview
We will follow this workflow:
- Capture a background frame (a frame with no motion)
- Preprocess with Gaussian blur
- Compute absolute difference (
AbsDiff) → threshold (Threshold) → opening (MorphologyEx(Open)) - Extract contours (
FindContours) → draw bounding rectangles - Display the processed frame in WPF
Adding opening after threshold helps remove small speckle noise.
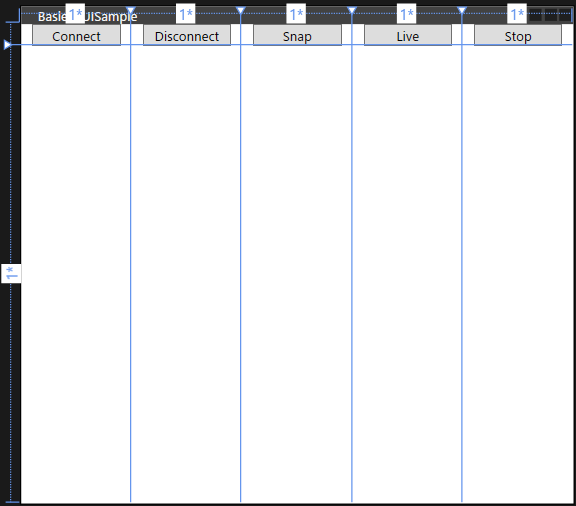
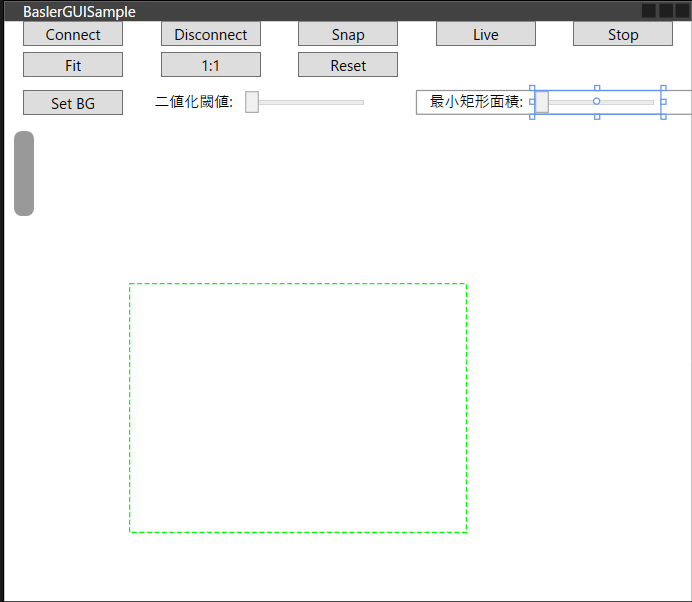
🧩 XAML (Minimal UI)
Add one column for a “Set BG” button and sliders for tuning.
|
1 2 3 4 5 6 7 8 9 10 11 12 13 14 15 16 17 18 |
<Grid Grid.Row=“2” Grid.Column=“0”> <Button Content=“Set BG” Width=“80” Margin=“0,5” ToolTip=“Capture background” Command=“{Binding SetBackgroundCommand}”/> </Grid> <Grid Grid.Row=“2” Grid.Column=“1” ColumnSpan=“2” VerticalAlignment=“Center”> <StackPanel Orientation=“Horizontal”> <TextBlock Text=“Threshold:” Margin=“10,0”/> <Slider x:Name=“ThresholdSlider” Minimum=“0” Maximum=“255” Value=“{Binding DetectionThreshold}” Width=“100” SmallChange=“1”/> </StackPanel> </Grid> <Grid Grid.Row=“2” Grid.Column=“3” ColumnSpan=“2” VerticalAlignment=“Center”> <StackPanel Orientation=“Horizontal”> <TextBlock Text=“Min area:” Margin=“10,0”/> <Slider x:Name=“MinAreaSlider” Minimum=“200” Maximum=“100000” Value=“{Binding MinArea}” Width=“100” SmallChange=“100”/> </StackPanel> </Grid> |
🔧 Core Code (Background Subtraction Pipeline)
This logic ideally belongs in the Model layer, but to keep diffs small from previous articles, it is implemented in the ViewModel.
The author tested on a Mono8 camera. If you use a color camera, convert to grayscale as needed.
The ViewModel implements IDisposable to ensure OpenCV Mat resources are released.
|
1 2 3 4 5 6 7 8 9 10 11 12 13 14 15 16 17 18 19 20 21 22 23 24 25 26 27 28 29 30 31 32 33 34 35 36 37 38 39 40 41 42 43 44 45 46 47 48 49 50 51 52 53 54 55 56 57 58 59 60 61 62 63 64 65 66 67 68 69 70 71 72 73 74 75 76 77 78 79 80 81 82 83 84 85 86 87 88 89 90 91 92 93 94 95 96 97 98 99 100 101 102 103 104 105 106 107 108 109 110 111 112 113 114 115 116 117 118 119 120 121 122 123 124 125 126 127 128 129 130 131 132 133 134 135 136 137 138 139 140 141 142 143 144 145 146 147 148 149 150 151 152 153 154 155 156 157 158 159 160 161 162 163 164 165 166 167 168 169 170 171 172 173 174 175 176 177 178 179 180 181 182 183 184 185 186 187 188 189 190 191 192 193 194 195 196 197 198 199 200 201 202 203 204 205 206 207 208 209 210 211 212 213 214 215 216 217 218 219 220 221 222 223 224 225 226 227 228 229 230 231 232 233 234 235 236 237 238 239 240 |
using Basler.Pylon; using BaslerSamples; using Common; using OpenCvSharp; using OpenCvSharp.WpfExtensions; using System; using System.Threading; using System.Threading.Tasks; using System.Windows; using System.Windows.Media.Imaging; using Application = System.Windows.Application; using Size = OpenCvSharp.Size; namespace BaslerGUISample.ViewModels { public partial class MainViewModel : BindableBase, IDisposable { BaslerCameraSample _cameraService = new BaslerCameraSample(); // Flag: capture the next arriving frame as the background private volatile bool _captureBgNext = false; public MainViewModel() { // Other commands omitted SetBackgroundCommand = new DelegateCommand(SetBackground, () => IsGrabbing); } private bool _isGrabbing; /// <summary> /// Indicates whether the camera is currently grabbing frames. /// </summary> public bool IsGrabbing { get => _isGrabbing; set => SetProperty(ref _isGrabbing, value); } private Mat? _backgroundFrame; /// <summary> /// Background frame used for subtraction. /// </summary> public Mat? BackgroundFrame { get => _backgroundFrame; set { var old = _backgroundFrame; if (SetProperty(ref _backgroundFrame, value)) { old?.Dispose(); BgBlurCached = null; // Drop blur cache when background changes } } } private Mat? _bgBlurCached; /// <summary> /// Cached blurred background (to avoid blurring every frame). /// </summary> public Mat? BgBlurCached { get => _bgBlurCached; set { var old = _bgBlurCached; if (SetProperty(ref _bgBlurCached, value)) { old?.Dispose(); } } } /// <summary> /// True if a background frame has been set. /// </summary> public bool HasBackground => BackgroundFrame != null; private double _detectionThreshold = 30.0; /// <summary> /// Threshold for motion detection. /// </summary> public double DetectionThreshold { get => _detectionThreshold; set => SetProperty(ref _detectionThreshold, value); } private double _minArea = 800.0; /// <summary> /// Minimum bounding-rect area to keep as a detection. /// </summary> public double MinArea { get => _minArea; set => SetProperty(ref _minArea, value); } /// <summary> /// Command to capture the background image. /// </summary> public DelegateCommand SetBackgroundCommand { get; } public void Dispose() { if (IsGrabbing) { Stop(); } Disconnect(); BackgroundFrame = null; BgBlurCached = null; } /// <summary> /// Capture the next arriving frame as the background. /// </summary> public void SetBackground() { _captureBgNext = true; BgBlurCached = null; } private int _updating; // overload protection (drop frames while processing) private async void OnImageGrabbed(object? sender, ImageGrabbedEventArgs e) { IsGrabbing = _cameraService.IsGrabbing; if (Interlocked.Exchange(ref _updating, 1) == 1) return; try { await UpdateCurrentFrame(e.GrabResult); // HUD update (~10 Hz) omitted } catch (InvalidOperationException ex) { MessageBox.Show($“Failed to grab. Error: {ex.Message}”); } catch (TaskCanceledException) { // Can occur if the app closes while live view is running. } finally { Interlocked.Exchange(ref _updating, 0); } } /// <summary> /// Main frame-update routine. /// Runs background subtraction, draws bounding boxes, and updates CurrentFrame. /// </summary> private async Task UpdateCurrentFrame(IGrabResult result) { if (!result.GrabSucceeded) return; // 1) GrabResult -> Mat (reuse implementation from the Mat article) using Mat raw = result.ToMat(); // Ensure single-channel input (safe for color cameras too) using Mat frame = new Mat(); if (raw.Channels() == 1) { raw.CopyTo(frame); } else { Cv2.CvtColor(raw, frame, ColorConversionCodes.BGR2GRAY); } if (_captureBgNext) { BackgroundFrame = frame.Clone(); _captureBgNext = false; } // If background isn’t set, just display the frame if (HasBackground == false) { await SetCurrentFrame(frame); return; } // 2) Preprocess: blur using Mat blur = new(); Cv2.GaussianBlur(frame, blur, new Size(5, 5), 0); // Build blurred background cache if missing if (BgBlurCached == null || BgBlurCached.Empty()) { BgBlurCached = new Mat(); Cv2.GaussianBlur(BackgroundFrame!, BgBlurCached, new Size(5, 5), 0); } // 3) diff -> threshold -> opening using var diff = new Mat(); Cv2.Absdiff(blur, BgBlurCached, diff); using var bw = new Mat(); Cv2.Threshold(diff, bw, DetectionThreshold, 255, ThresholdTypes.Binary); using var k = Cv2.GetStructuringElement(MorphShapes.Rect, new Size(3, 3)); Cv2.MorphologyEx(bw, bw, MorphTypes.Open, k, iterations: 1); // 4) contours -> bounding boxes Cv2.FindContours(bw, out var contours, out _, RetrievalModes.External, ContourApproximationModes.ApproxSimple); using var colorFrame = new Mat(); Cv2.CvtColor(frame, colorFrame, ColorConversionCodes.GRAY2BGR); int thick = Math.Max(1, colorFrame.Width / 400); foreach (var c in contours) { var rect = Cv2.BoundingRect(c); if (rect.Width * rect.Height < MinArea) continue; Cv2.Rectangle(colorFrame, rect, Scalar.Red, thick); } // 5) display await SetCurrentFrame(colorFrame); } private readonly object _lock = new(); /// <summary> /// Converts a Mat to BitmapSource and updates CurrentFrame on the UI thread. /// </summary> private async Task SetCurrentFrame(Mat mat) { BitmapSource src = mat.ToBitmapSource(); src.Freeze(); // Required because it was created on a non-UI thread await Application.Current.Dispatcher.BeginInvoke(() => { lock (_lock) { CurrentFrame = src; } }); } } } |
Code-Behind
Dispose the ViewModel when the window closes.
|
1 2 3 4 5 6 7 |
/// <summary> /// Dispose ViewModel before the window closes. /// </summary> private void Window_Closing(object sender, System.ComponentModel.CancelEventArgs e) { _viewModel.Dispose(); } |
Example Run
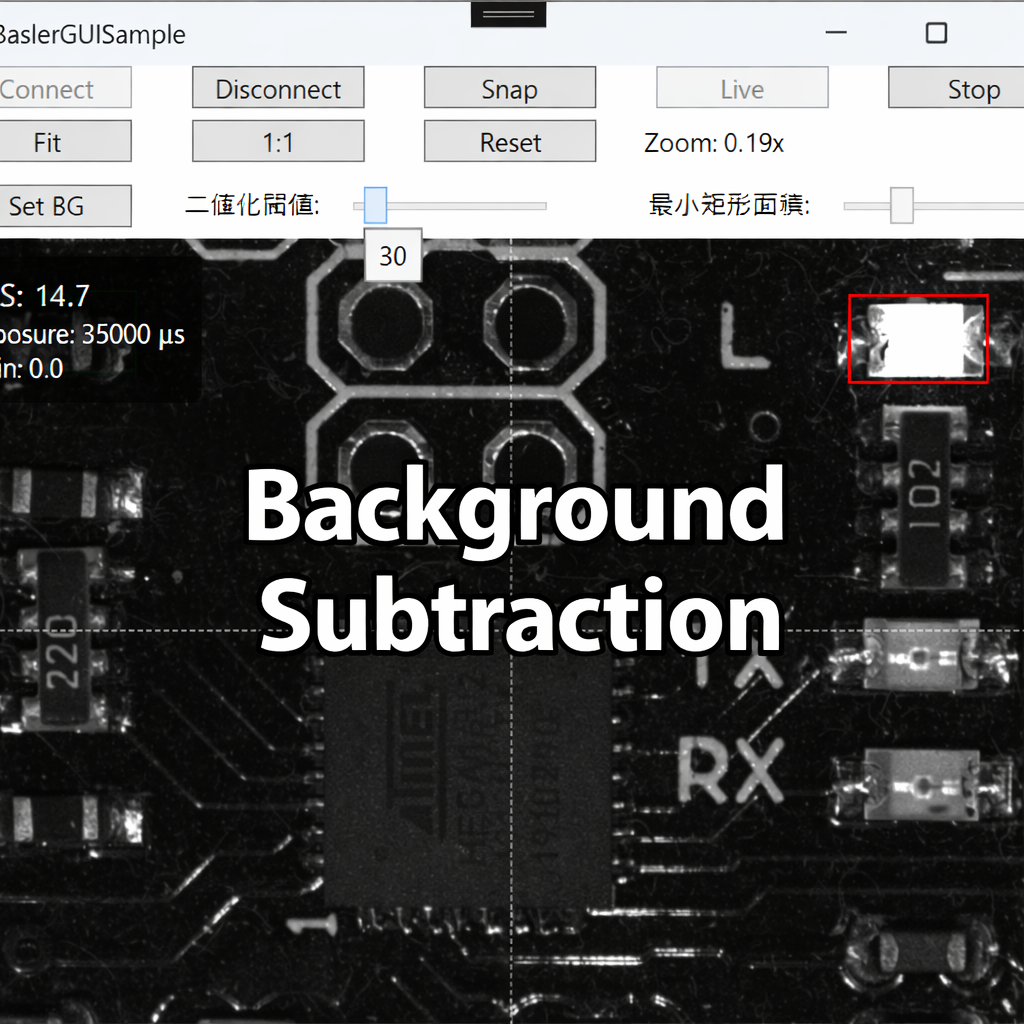
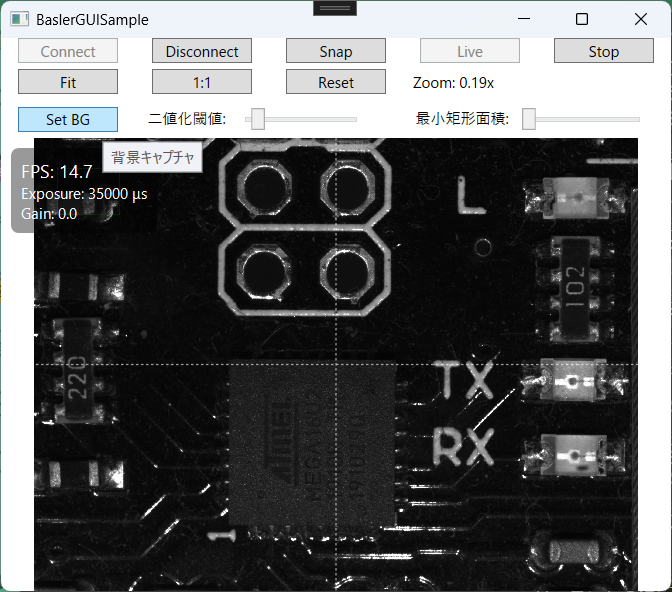
- Click Set BG to capture the background frame.
 2. Move an object in the scene → motion regions are detected and boxed.
3. Use sliders to tune sensitivity and minimum area.
2. Move an object in the scene → motion regions are detected and boxed.
3. Use sliders to tune sensitivity and minimum area.

Tuning Tips
-
Retake background when illumination changes
-
Threshold: increase to suppress sensor noise; decrease to detect subtle motion
-
Morphology iterations: increase if edges are jagged; decrease if boxes “bloat”
-
Min area: simple filter to reduce false positives
-
Speed-ups:
- Apply camera ROI to reduce the processed area
Cv2.Resizeto process a smaller image (scale coordinates back)- Cache blurred background (as shown) to avoid blurring every frame
Common Pitfalls
| Symptom | Likely Cause | Fix |
|---|---|---|
| Nothing detected | Threshold too high / changes too small | Lower threshold or increase blur kernel |
| Entire frame white | Auto exposure/gain is fluctuating | Set ExposureAuto/GainAuto=Off, stabilize lighting |
| Too many speckles | Sensor noise / tiny vibration | Keep opening (MorphTypes.Open) and tune kernel |
| UI freezes | Processing too heavy | Move processing to another Task, use ROI / resize |
| Memory grows | Mat.Dispose() missing |
Use using blocks (as shown) and cache carefully |
Summary
- Background subtraction highlights only moving regions
- Fixed exposure/gain + stable lighting improves reliability
- Tune threshold, minimum area, and morphology to balance sensitivity vs noise
- ROI and resizing are effective for performance