
Blog
-
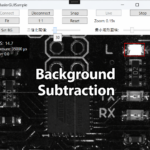
Implementing Background Subtraction (Motion Detection) in WPF with Basler pylon SDK + OpenCV (C# / .NET 8)
Implement motion detection in a WPF Basler live view us…
-
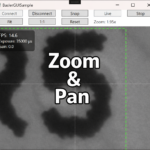
Zoom & Pan for WPF Live View Using TransformGroup (C# / .NET 8)
Add intuitive zoom and pan to a Basler WPF live view us…
-
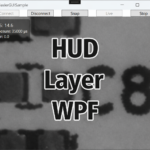
Overlaying a HUD on Basler Live View in WPF (FPS, Exposure, Gain) — Dual-Layer UI Layout
Overlay a clean HUD on Basler live view in a WPF app us…
-
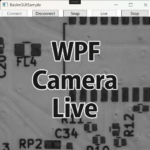
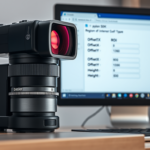
Implementing Live View in a WPF App for Basler Cameras (pylon SDK / C# / .NET 8)
Build a live preview in WPF for Basler cameras using th…
-
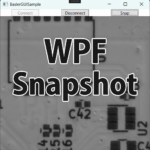
Displaying a Basler Camera Snapshot in a WPF App (pylon SDK / C# / .NET 8)
Build a minimal WPF viewer for a Basler camera using th…
-
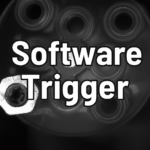
Software Trigger Capture with the Basler pylon SDK (C# / .NET)
Learn how to use software triggers with Basler GigE cam…
-
Reproducing Camera Conditions: Saving and Loading Basler Settings as PFS Files
The article discusses how to save and load Basler camer…
-

Displaying and Saving Basler Camera Images with OpenCV
This article discusses using OpenCV with Basler cameras…
-
Stabilizing Basler Camera Acquisition with Event-Driven Capture and Async Saving (C# / pylon SDK)
This article discusses stabilizing Basler camera acquis…
-
Boosting Frame Rate with ROI on Basler Cameras Using the pylon SDK (C# / .NET 8)
This article discusses how to enhance frame rates in Ba…