
In the previous article (Displaying a Basler Camera Snapshot in a WPF App), we captured a single frame and displayed it in a WPF Image.
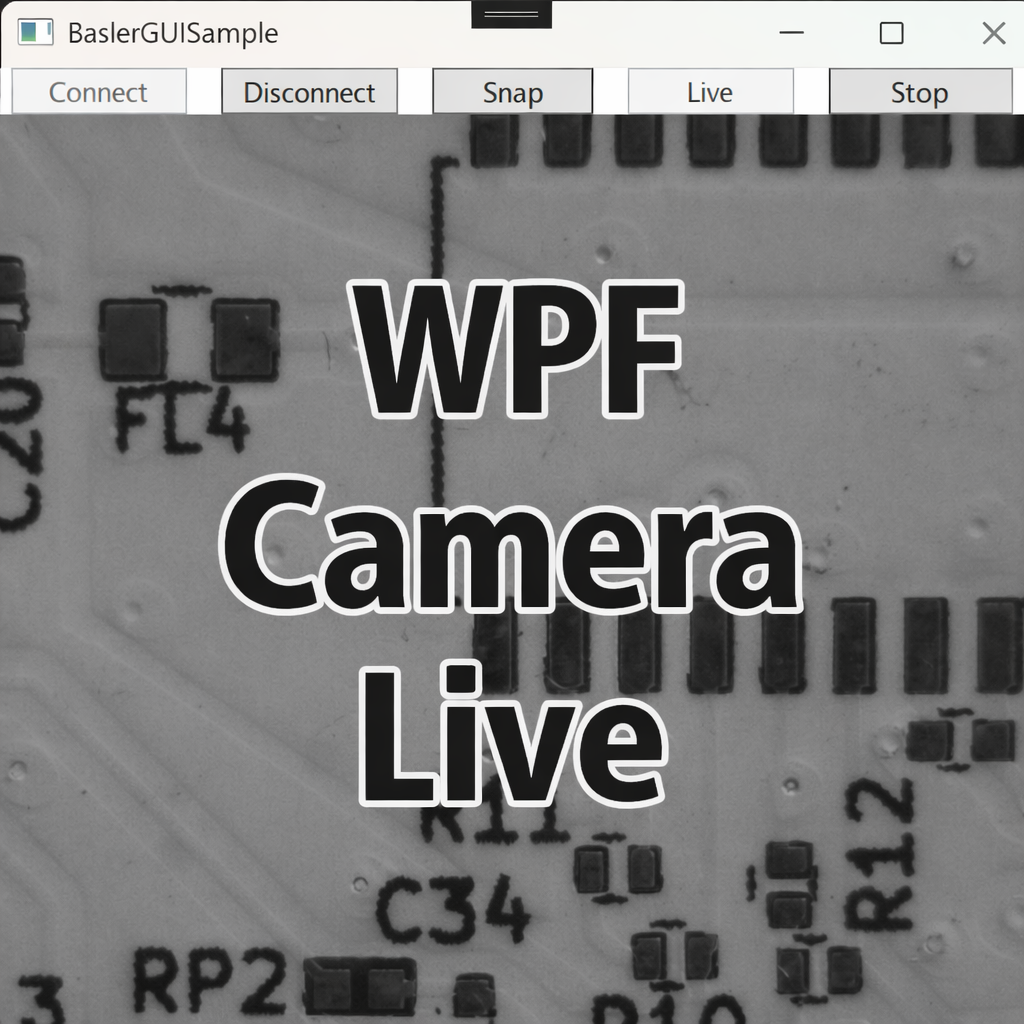
This time, we’ll implement a live camera preview inside a WPF window.
The live view uses an event-driven approach: we receive frames via ImageGrabbed, convert them to BitmapSource, and update an Image control. The update is performed safely via the Dispatcher to avoid blocking or crashing the UI thread.
Environment / Assumptions
- Basler pylon Camera Software Suite (reference
Basler.Pylon) - .NET 8 / WPF (Windows desktop)
- Camera: acA2500-14gm (assumed Mono8)
If you use a color camera, you must convert based on pixel format such as
BGR8packed.
Goal
- Live preview controlled by Connect / Start / Stop / Disconnect
- Smooth updates by continuously refreshing a
BitmapSourcebound to anImage - Safe UI updates (always via the Dispatcher)
UI (XAML)
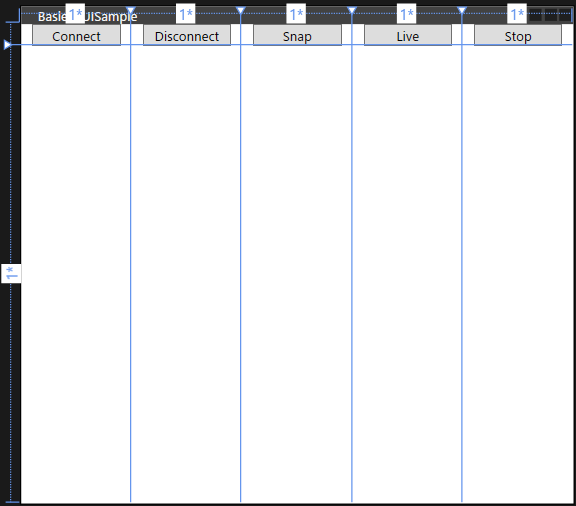
We add two buttons: Live (start preview) and Stop (stop preview).
|
1 2 3 4 5 6 7 8 9 10 11 12 13 14 15 16 17 18 19 20 21 22 23 24 25 26 27 28 29 30 31 32 33 34 35 36 37 38 39 40 |
<Window x:Class=“BaslerGUISample.MainWindow” xmlns=“http://schemas.microsoft.com/winfx/2006/xaml/presentation” xmlns:x=“http://schemas.microsoft.com/winfx/2006/xaml” xmlns:d=“http://schemas.microsoft.com/expression/blend/2008” xmlns:mc=“http://schemas.openxmlformats.org/markup-compatibility/2006” xmlns:local=“clr-namespace:BaslerGUISample” mc:Ignorable=“d” Title=“BaslerGUISample” Height=“450” Width=“500” Closing=“Window_Closing”> <Grid> <Grid.RowDefinitions> <RowDefinition Height=“Auto”/> <RowDefinition Height=“*”/> </Grid.RowDefinitions> <Grid.ColumnDefinitions> <ColumnDefinition Width=“*”/> <ColumnDefinition Width=“*”/> <ColumnDefinition Width=“*”/> <ColumnDefinition Width=“*”/> <ColumnDefinition Width=“*”/> </Grid.ColumnDefinitions> <Grid Grid.Row=“0” Grid.Column=“0”> <Button Content=“Connect” Width=“80” Margin=“4,0” Command=“{Binding ConnectCommand}”/> </Grid> <Grid Grid.Row=“0” Grid.Column=“1”> <Button Content=“Disconnect” Width=“80” Margin=“4,0” Command=“{Binding DisconnectCommand}”/> </Grid> <Grid Grid.Row=“0” Grid.Column=“2”> <Button Content=“Snap” Width=“80” Margin=“4,0” Command=“{Binding SnapCommand}”/> </Grid> <Grid Grid.Row=“0” Grid.Column=“3”> <Button Content=“Live” Width=“80” Margin=“4,0” Command=“{Binding StartCommand}”/> </Grid> <Grid Grid.Row=“0” Grid.Column=“4”> <Button Content=“Stop” Width=“80” Margin=“4,0” Command=“{Binding StopCommand}”/> </Grid> <Grid Grid.Row=“1” Grid.Column=“0” Grid.ColumnSpan=“5”> <Image x:Name=“PreviewImage” Source=“{Binding CurrentFrame}” Stretch=“Uniform”/> </Grid> </Grid> </Window> |
The code-behind is the same as in the previous article (set DataContext to the ViewModel and disconnect on closing).
Model Side (BaslerCameraSample)
If we reuse the previous StartGrabbing() implementation, frames keep piling up in ConcurrentQueue<(DateTime, IGrabResult)> _bufferedImageQueue, which is great for async saving but makes live view unnecessarily complex.
So, we add a simple streaming method dedicated to live display:
|
1 2 3 4 5 6 7 8 9 10 11 12 13 14 15 16 |
/// <summary> /// Starts streaming without enqueuing frames into _bufferedImageQueue. /// This method is specialized for live preview. /// </summary> public void StartLive() { if (Camera == null || !IsConnected) throw new InvalidOperationException(“Camera is not connected.”); if (IsGrabbing) throw new InvalidOperationException(“Camera is already grabbing.”); // Set acquisition mode to continuous SetPLCameraParameter(PLCamera.AcquisitionMode, PLCamera.AcquisitionMode.Continuous); Camera.StreamGrabber.Start(GrabStrategy.OneByOne, GrabLoop.ProvidedByStreamGrabber); } |
Add/Remove event handlers
To keep the design flexible, we expose methods to attach/detach ImageGrabbed handlers:
|
1 2 3 4 5 6 7 8 9 10 11 12 13 14 15 16 |
/// <summary> /// Adds an event handler that is called when an image is grabbed. /// </summary> public void AddImageGrabbedEventHandler(EventHandler<ImageGrabbedEventArgs> handler) { if (Camera == null) return; Camera!.StreamGrabber!.ImageGrabbed += handler; } public void RemoveImageGrabbedEventHandler(EventHandler<ImageGrabbedEventArgs> handler) { if (Camera == null) return; Camera.StreamGrabber!.ImageGrabbed -= handler; } |
ViewModel: Event-Driven Preview → Update BitmapSource
We continue using BaslerCameraSample, but now we update CurrentFrame whenever ImageGrabbed fires.
If performance becomes an issue, consider using WriteableBitmap rather than creating a new BitmapSource every time.
|
1 2 3 4 5 6 7 8 9 10 11 12 13 14 15 16 17 18 19 20 21 22 23 24 25 26 27 28 29 30 31 32 33 34 35 36 37 38 39 40 41 42 43 44 45 46 47 48 49 50 51 52 53 54 55 56 57 58 59 60 61 62 63 64 65 66 67 68 69 70 71 72 73 74 75 76 77 78 79 80 81 82 83 84 85 86 87 88 89 90 91 92 93 94 95 96 |
using Basler.Pylon; // ImageGrabbedEventArgs using BaslerSamples; // Camera control library // The author uses BindableBase / DelegateCommand from a Common namespace. // Please adapt to your environment. // using Common; using System; using System.Windows; using System.Windows.Media.Imaging; using Application = System.Windows.Application; namespace BaslerGUISample.ViewModels { public partial class MainViewModel : BindableBase { private readonly BaslerCameraSample _cameraService = new(); public MainViewModel() { // ConnectCommand, DisconnectCommand, SnapCommand are the same as the previous article. StartCommand = new DelegateCommand(Start, () => IsConnected && !IsGrabbing); StopCommand = new DelegateCommand(Stop, () => IsConnected && IsGrabbing); } private bool _isConnected; public bool IsConnected { get => _isConnected; set => SetProperty(ref _isConnected, value); } /// <summary> /// Indicates whether the camera is currently grabbing frames. /// </summary> private bool _isGrabbing; public bool IsGrabbing { get => _isGrabbing; set => SetProperty(ref _isGrabbing, value); } private BitmapSource? _currentFrame; public BitmapSource? CurrentFrame { get => _currentFrame; set => SetProperty(ref _currentFrame, value); } public void Start() { if (IsConnected == false) return; // Register handler (remove first to avoid duplicates) _cameraService.RemoveImageGrabbedEventHandler(OnImageGrabbed); _cameraService.AddImageGrabbedEventHandler(OnImageGrabbed); _cameraService.StartLive(); IsGrabbing = _cameraService.IsGrabbing; } public void Stop() { if (_cameraService.IsConnected == false) return; _cameraService.StopGrabbing(); // Unregister handler _cameraService.RemoveImageGrabbedEventHandler(OnImageGrabbed); IsGrabbing = _cameraService.IsGrabbing; } /// <summary> /// Called when a frame is received. /// </summary> private async void OnImageGrabbed(object? sender, ImageGrabbedEventArgs e) { IsGrabbing = _cameraService.IsGrabbing; // Clone because we don’t control when the original GrabResult gets disposed. using IGrabResult result = e.GrabResult.Clone(); try { // Always update the image on the UI thread. await Application.Current.Dispatcher.InvokeAsync(() => { var frame = BaslerCameraSample.ConvertGrabResultToBitmap(result); CurrentFrame = frame; }); } catch (InvalidOperationException ex) { MessageBox.Show($“Failed to grab. Error: {ex.Message}”); } } } } |
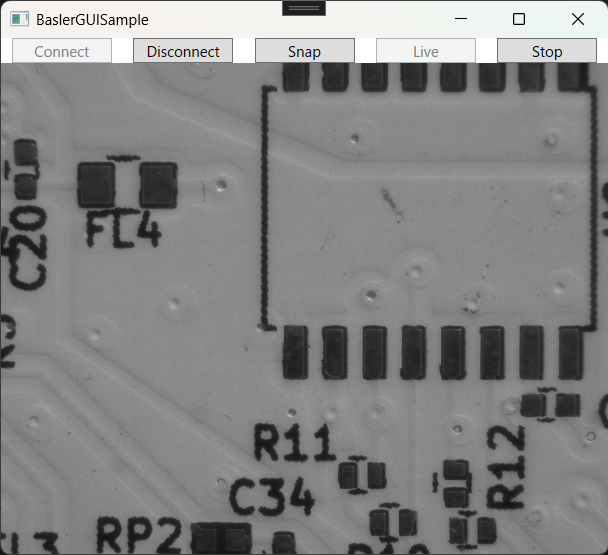
Example Run
Click Connect, then Live to start continuous preview. Click Stop to stop streaming.
Common Pitfalls & Fixes
-
Colors look wrong (color cameras) Match conversion to the camera’s pixel format (e.g.,
PixelType.BGR8packedandPixelFormats.Bgr24). -
Event handler registered twice Remove (
-=) once before adding (+=), as shown inStart(). -
Rendering can’t keep up with camera FPS If the camera FPS is high, you often don’t need to render every frame. You can drop frames by using
Monitor.TryEnterorInterlocked.Exchangeto avoid overlapping UI updates.
Summary
- Implemented smooth live view using pylon’s event-driven acquisition
- Updated WPF UI safely through the Dispatcher
- The structure is flexible and works well with ROI and resolution changes
- Combining live preview with triggers is already valuable for many lab/inspection setups
Next: HUD Overlay
In the next article, we will overlay a HUD showing values such as FPS, exposure time, and gain on top of the live preview.
コメントを残す