
Displaying and Saving Basler Camera Images with OpenCV
pylon SDK × OpenCvSharp / C#
When working with Basler cameras, converting captured images into OpenCV’s Mat format gives you access to a wide range of image processing algorithms.
In this article, we’ll take a GrabResult from the Basler pylon SDK, convert it to an OpenCV Mat, and then:
- Display it in real time using
Cv2.ImShow - Save it as an image file using
Cv2.ImWrite
✅ Environment
| Item | Value |
|---|---|
| Camera | Basler acA2500-14gm |
| SDK | Basler pylon Camera Software Suite |
| Pixel Format | Mono8 (8-bit grayscale) |
| OpenCV Wrapper | OpenCvSharp4.Windows (via NuGet) |
🎯 Goal: Convert GrabResult → Mat → Display & Save
Conceptual flow:
[GrabResult] → [byte[]] → [Mat] → [ImShow / ImWrite]
🔧 Converting GrabResult to Mat
We’ll use PixelDataConverter.Convert() to extract pixel data from IGrabResult into a byte[], and then wrap that buffer as an OpenCV Mat.
A convenient way is to implement an extension method on IGrabResult:
|
1 2 3 4 5 6 7 8 9 10 11 12 13 14 15 16 17 18 19 20 21 22 23 24 25 26 27 28 29 30 31 32 33 34 35 36 37 38 39 40 41 42 43 44 45 46 47 48 49 50 |
// IGrabResultExtensions.cs using System; using System.Runtime.InteropServices; using Basler.Pylon; using OpenCvSharp; namespace BaslerSamples { /// <summary> /// Extension methods for converting Basler IGrabResult to OpenCV Mat. /// </summary> public static class IGrabResultExtensions { /// <summary> /// Converts a successful grab result to an OpenCV Mat (Mono8 → CV_8UC1). /// </summary> /// <param name=”result”>Grabbed image result from the Basler camera.</param> /// <returns>Mat instance that wraps the image data.</returns> /// <exception cref=”InvalidOperationException”>Thrown if the grab did not succeed.</exception> public static Mat ToMat(this IGrabResult result) { if (!result.GrabSucceeded) throw new InvalidOperationException(“Grab failed.”); var converter = new PixelDataConverter { OutputPixelFormat = PixelType.Mono8 }; int width = result.Width; int height = result.Height; byte[] buffer = new byte[width * height]; converter.Convert(buffer, result); // Convert to OpenCV Mat (Gray8 → CV_8UC1) GCHandle handle = GCHandle.Alloc(buffer, GCHandleType.Pinned); try { IntPtr ptr = handle.AddrOfPinnedObject(); // Mat.FromPixelData is an OpenCvSharp helper that creates a Mat from raw pixel data. return Mat.FromPixelData(height, width, MatType.CV_8UC1, ptr); } finally { handle.Free(); } } } } |
💡 Note: For color formats (e.g., BGR8, RGB8), you’ll need to adjust
OutputPixelFormatandMatType(e.g.,CV_8UC3) accordingly.
🖼 Real-Time Display with Cv2.ImShow
We now extend the BaslerCameraSample class (introduced in the previous article on event-driven capture) to display buffered images using OpenCV.
Here, we assume that _bufferedImageQueue is a queue of (DateTime, IGrabResult) that the ImageGrabbed event handler enqueues into.
|
1 2 3 4 5 6 7 8 9 10 11 12 13 14 15 16 17 18 19 20 21 22 23 24 25 26 27 28 29 30 31 32 33 34 35 36 37 38 39 40 41 42 43 44 |
using System; using System.Collections.Concurrent; using System.Threading; using System.Threading.Tasks; using OpenCvSharp; public partial class BaslerCameraSample { /// <summary> /// Queue for buffering grabbed images for OpenCV display. /// </summary> private readonly ConcurrentQueue<(DateTime Timestamp, IGrabResult Result)> _bufferedImageQueue = new(); /// <summary> /// Displays buffered images using OpenCV’s ImShow until cancellation is requested /// and the buffer is drained. /// </summary> /// <param name=”cts”>Cancellation token source for stopping the display loop.</param> public async Task ShowBufferedImages(CancellationTokenSource cts) { // Loop while capturing is active or there are still items in the buffer. while (!cts.IsCancellationRequested && (IsGrabbing || _bufferedImageQueue.Count > 0)) { if (_bufferedImageQueue.TryDequeue(out var item)) { using (Mat mat = item.Result.ToMat()) { Cv2.ImShow(“Camera”, mat); // WaitKey(0) blocks, so use a short delay (1 ms) for realtime display. Cv2.WaitKey(1); } } else { // Avoid busy-waiting when the queue is temporarily empty. await Task.Delay(1); } } // Optionally clear the queue here. _bufferedImageQueue.Clear(); } } |
Example Test: Live Display for 10 Seconds
|
1 2 3 4 5 6 7 8 9 10 11 12 13 14 15 16 17 18 19 20 21 22 23 24 25 26 27 28 29 30 31 32 33 34 35 36 37 38 39 40 |
/// <summary> /// Tests event-driven grabbing combined with OpenCV realtime display. /// </summary> [TestMethod] public async Task ShowBufferedImagesTest() { if (!_baslerCameraSample.IsConnected) _baslerCameraSample.Connect(); Task? showTask = null; var cts = new CancellationTokenSource(); try { _baslerCameraSample.StartGrabbing(); Assert.IsTrue(_baslerCameraSample.IsGrabbing, “Camera should be grabbing after StartGrabbing is called.”); // Start OpenCV display loop. showTask = _baslerCameraSample.ShowBufferedImages(cts); // Display camera feed for 10 seconds. await Task.Delay(10000); } catch (InvalidOperationException ex) { Assert.Fail($“StartGrabbing failed: {ex.Message}”); } finally { // Stop grabbing and request display loop to end. _baslerCameraSample.StopGrabbing(); Assert.IsFalse(_baslerCameraSample.IsGrabbing, “Camera should not be grabbing after StopGrabbing is called.”); cts.Cancel(); if (showTask is not null) await showTask; } } |
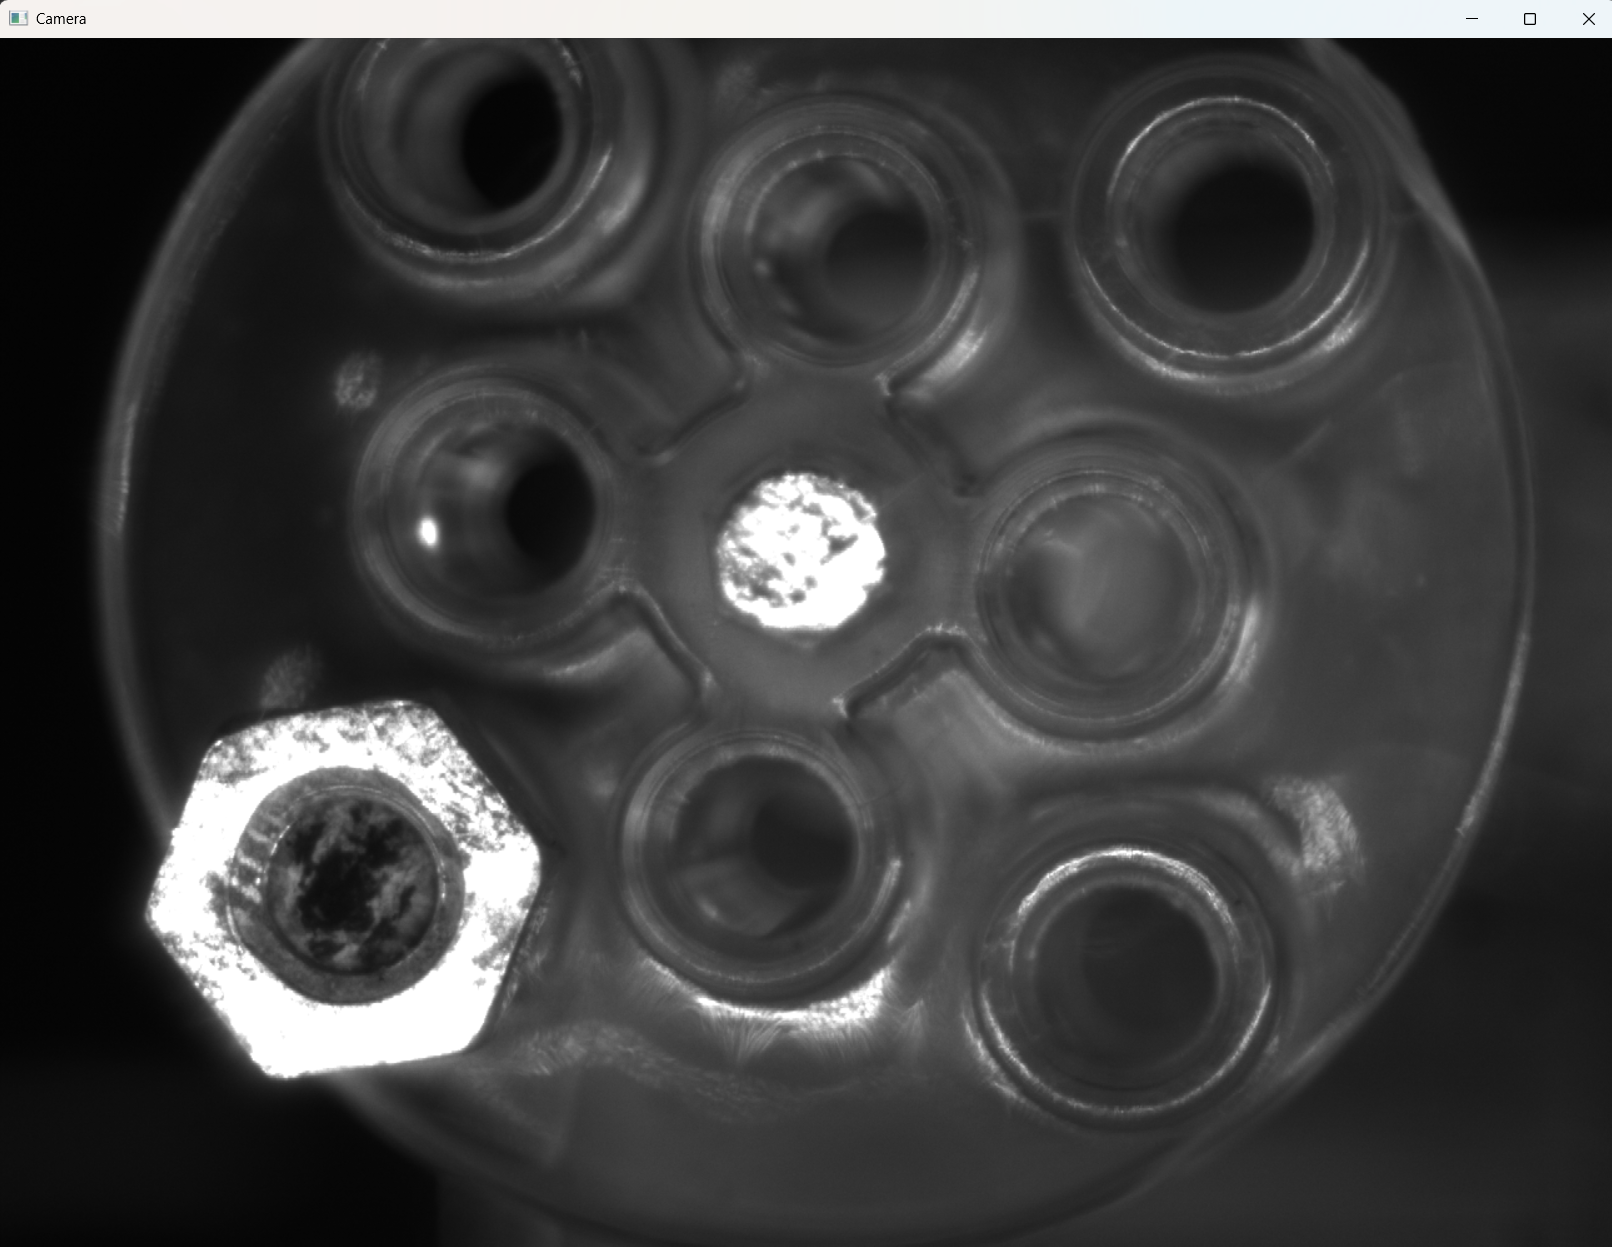
Running this test opens an OpenCV window named “Camera” that shows the live feed from your Basler camera.
💾 Saving Mat with ImWrite
To save a Mat to disk, use ImWrite().
The following example:
- Captures one frame using
Snap() - Converts it to
Mat - Saves the image
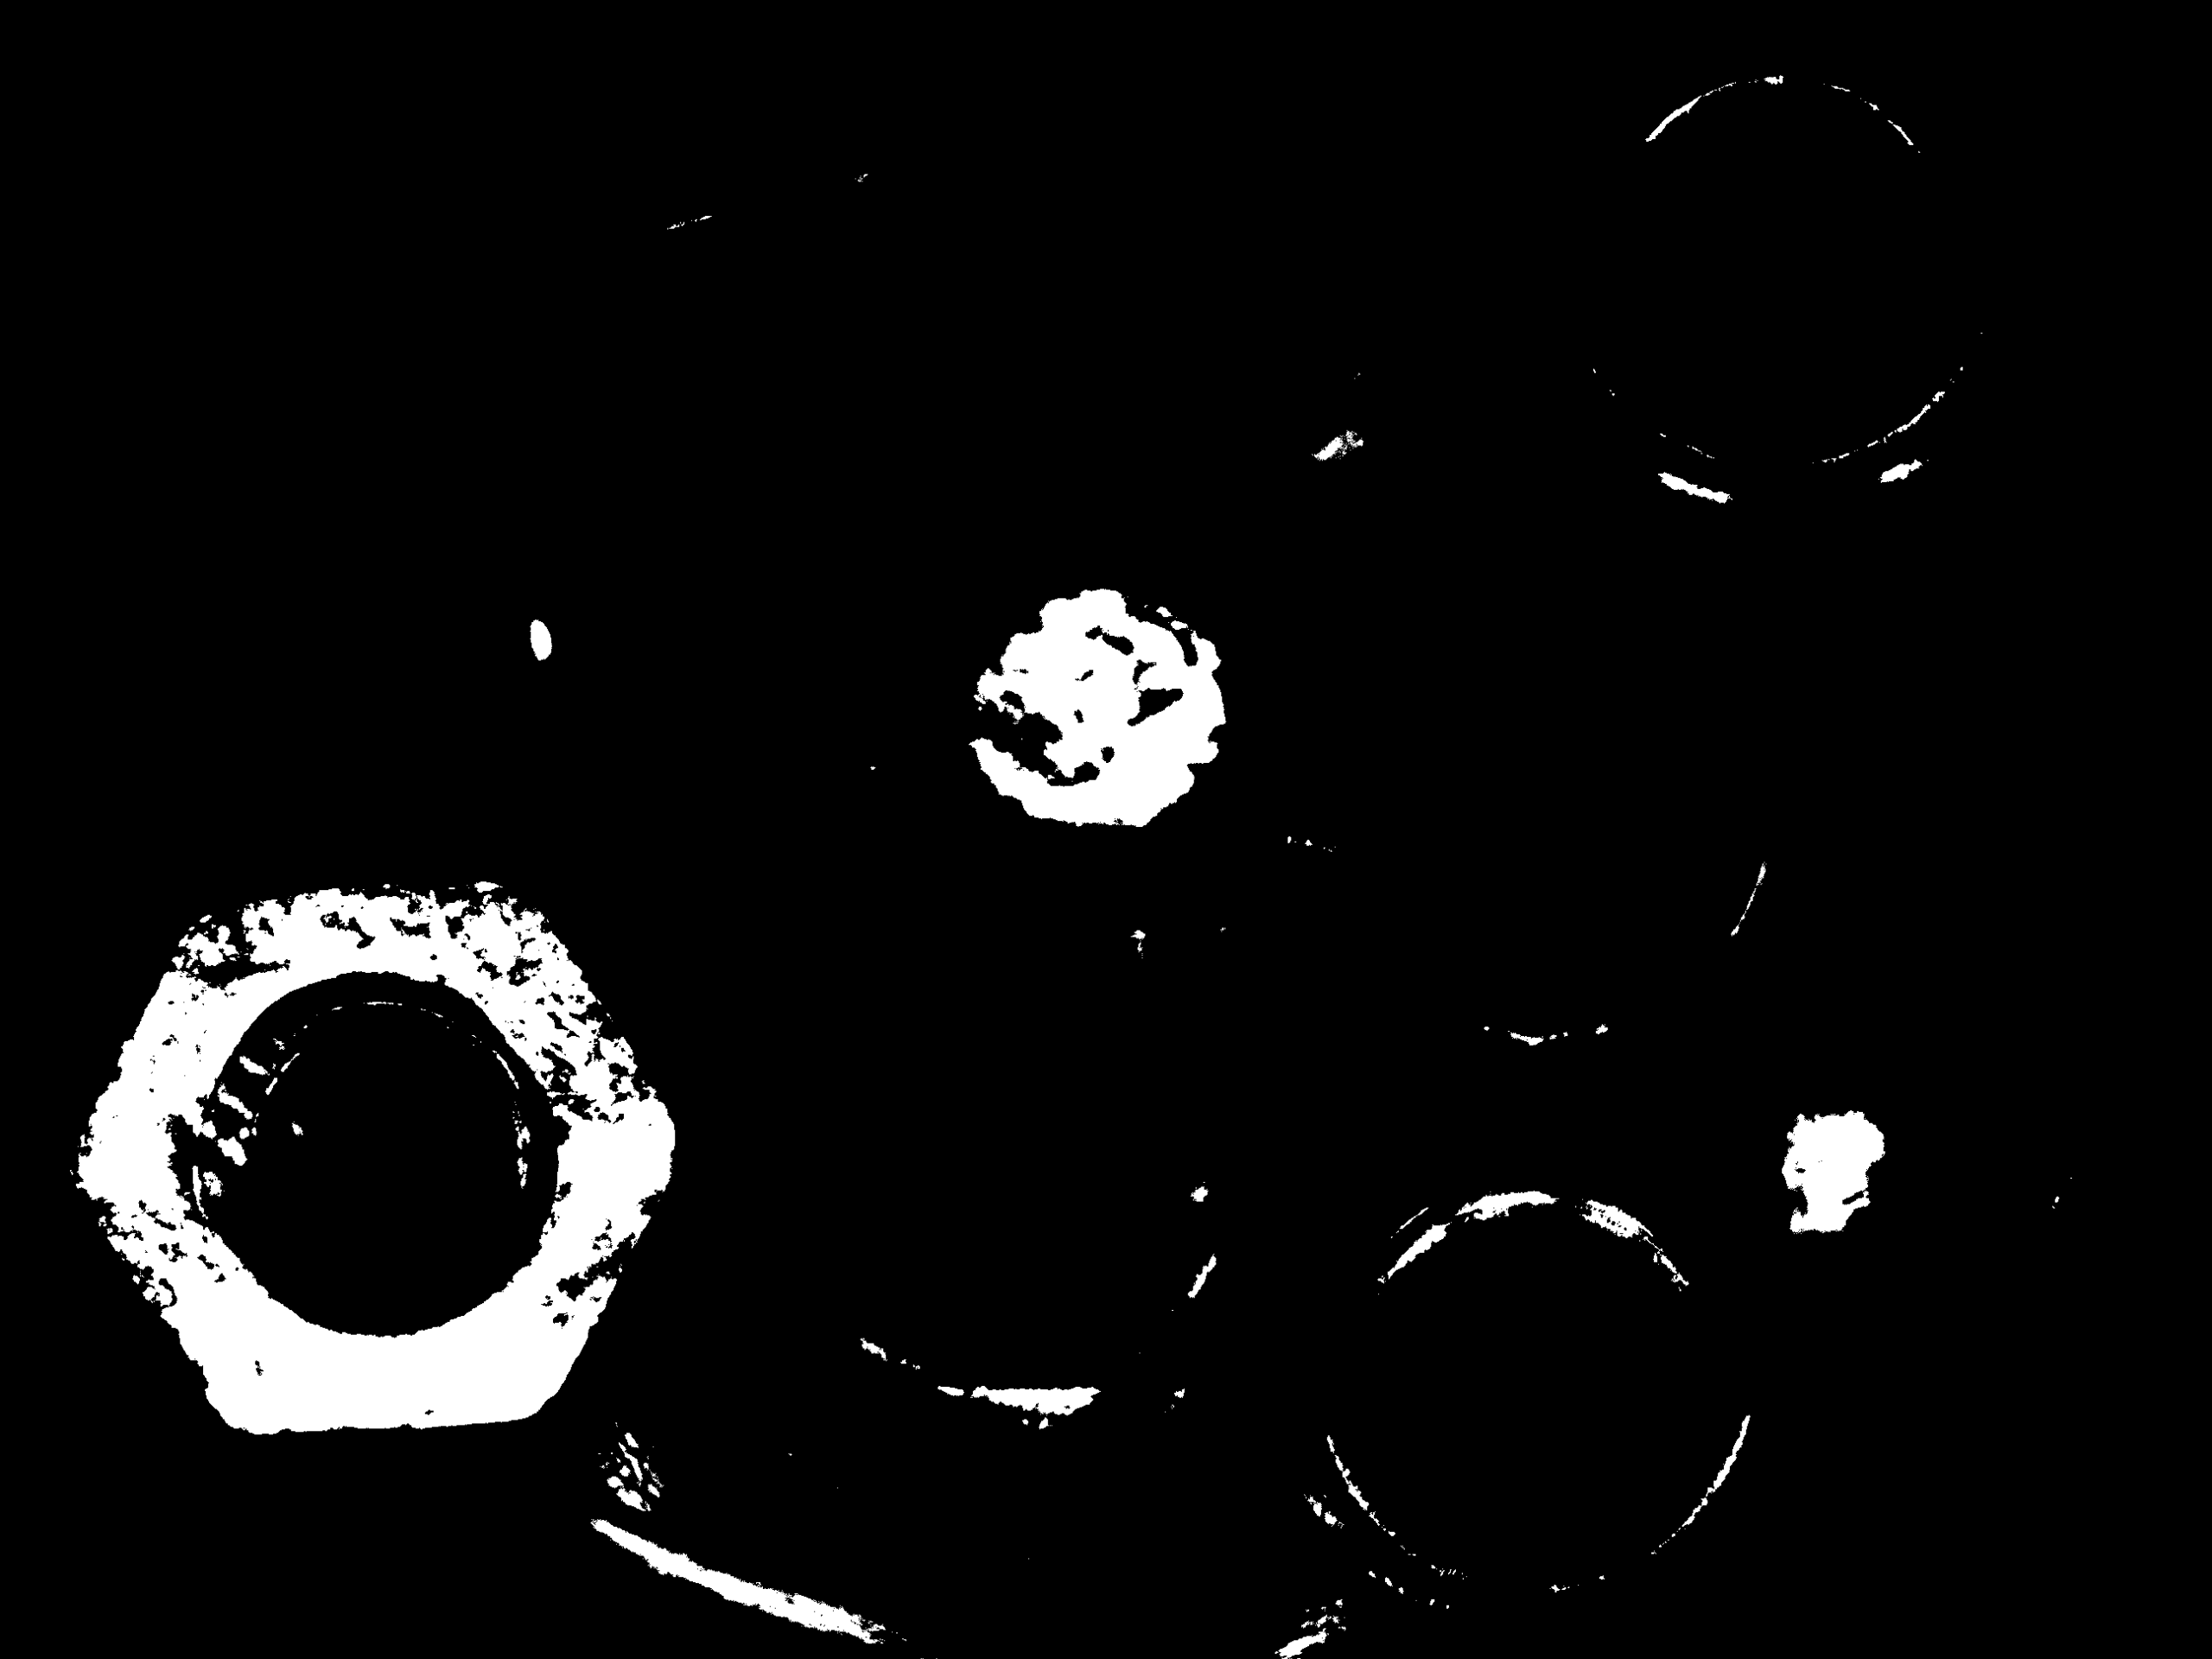
- Applies a simple threshold operation and saves again
- Also saves via
BitmapSourcefor comparison
|
1 2 3 4 5 6 7 8 9 10 11 12 13 14 15 16 17 18 19 20 21 22 23 24 25 26 27 28 29 30 31 32 |
/// <summary> /// Captures a single frame, converts it to Mat, saves it, and /// applies a binary threshold for comparison. /// </summary> [TestMethod] public void SnapAndSaveMatTest() { if (!_baslerCameraSample.IsConnected) _baslerCameraSample.Connect(); // Capture one frame using var result = _baslerCameraSample.Snap(1000); using (var mat = result.ToMat()) { Assert.IsNotNull(mat); // Save the original image using OpenCV mat.ImWrite(“SnapAndSaveMatTest_Mat.bmp”); // Apply simple thresholding Cv2.Threshold(mat, mat, 128, 255, ThresholdTypes.Binary); mat.ImWrite(“SnapAndSaveMatTest_Mat_Thresholded.bmp”); Assert.IsTrue(System.IO.File.Exists(“SnapAndSaveMatTest_Mat.bmp”)); } // Also save using BitmapSource for comparison var bitmap = _baslerCameraSample.ConvertGrabResultToBitmap(result); BaslerCameraSample.SaveBitmap(bitmap, “SnapAndSaveMatTest_Bitmap.bmp”); Assert.IsNotNull(result); } |
This creates three files:
SnapAndSaveMatTest_Bitmap.bmp— saved fromBitmapSourceSnapAndSaveMatTest_Mat.bmp— saved from OpenCVMatSnapAndSaveMatTest_Mat_Thresholded.bmp— thresholded version
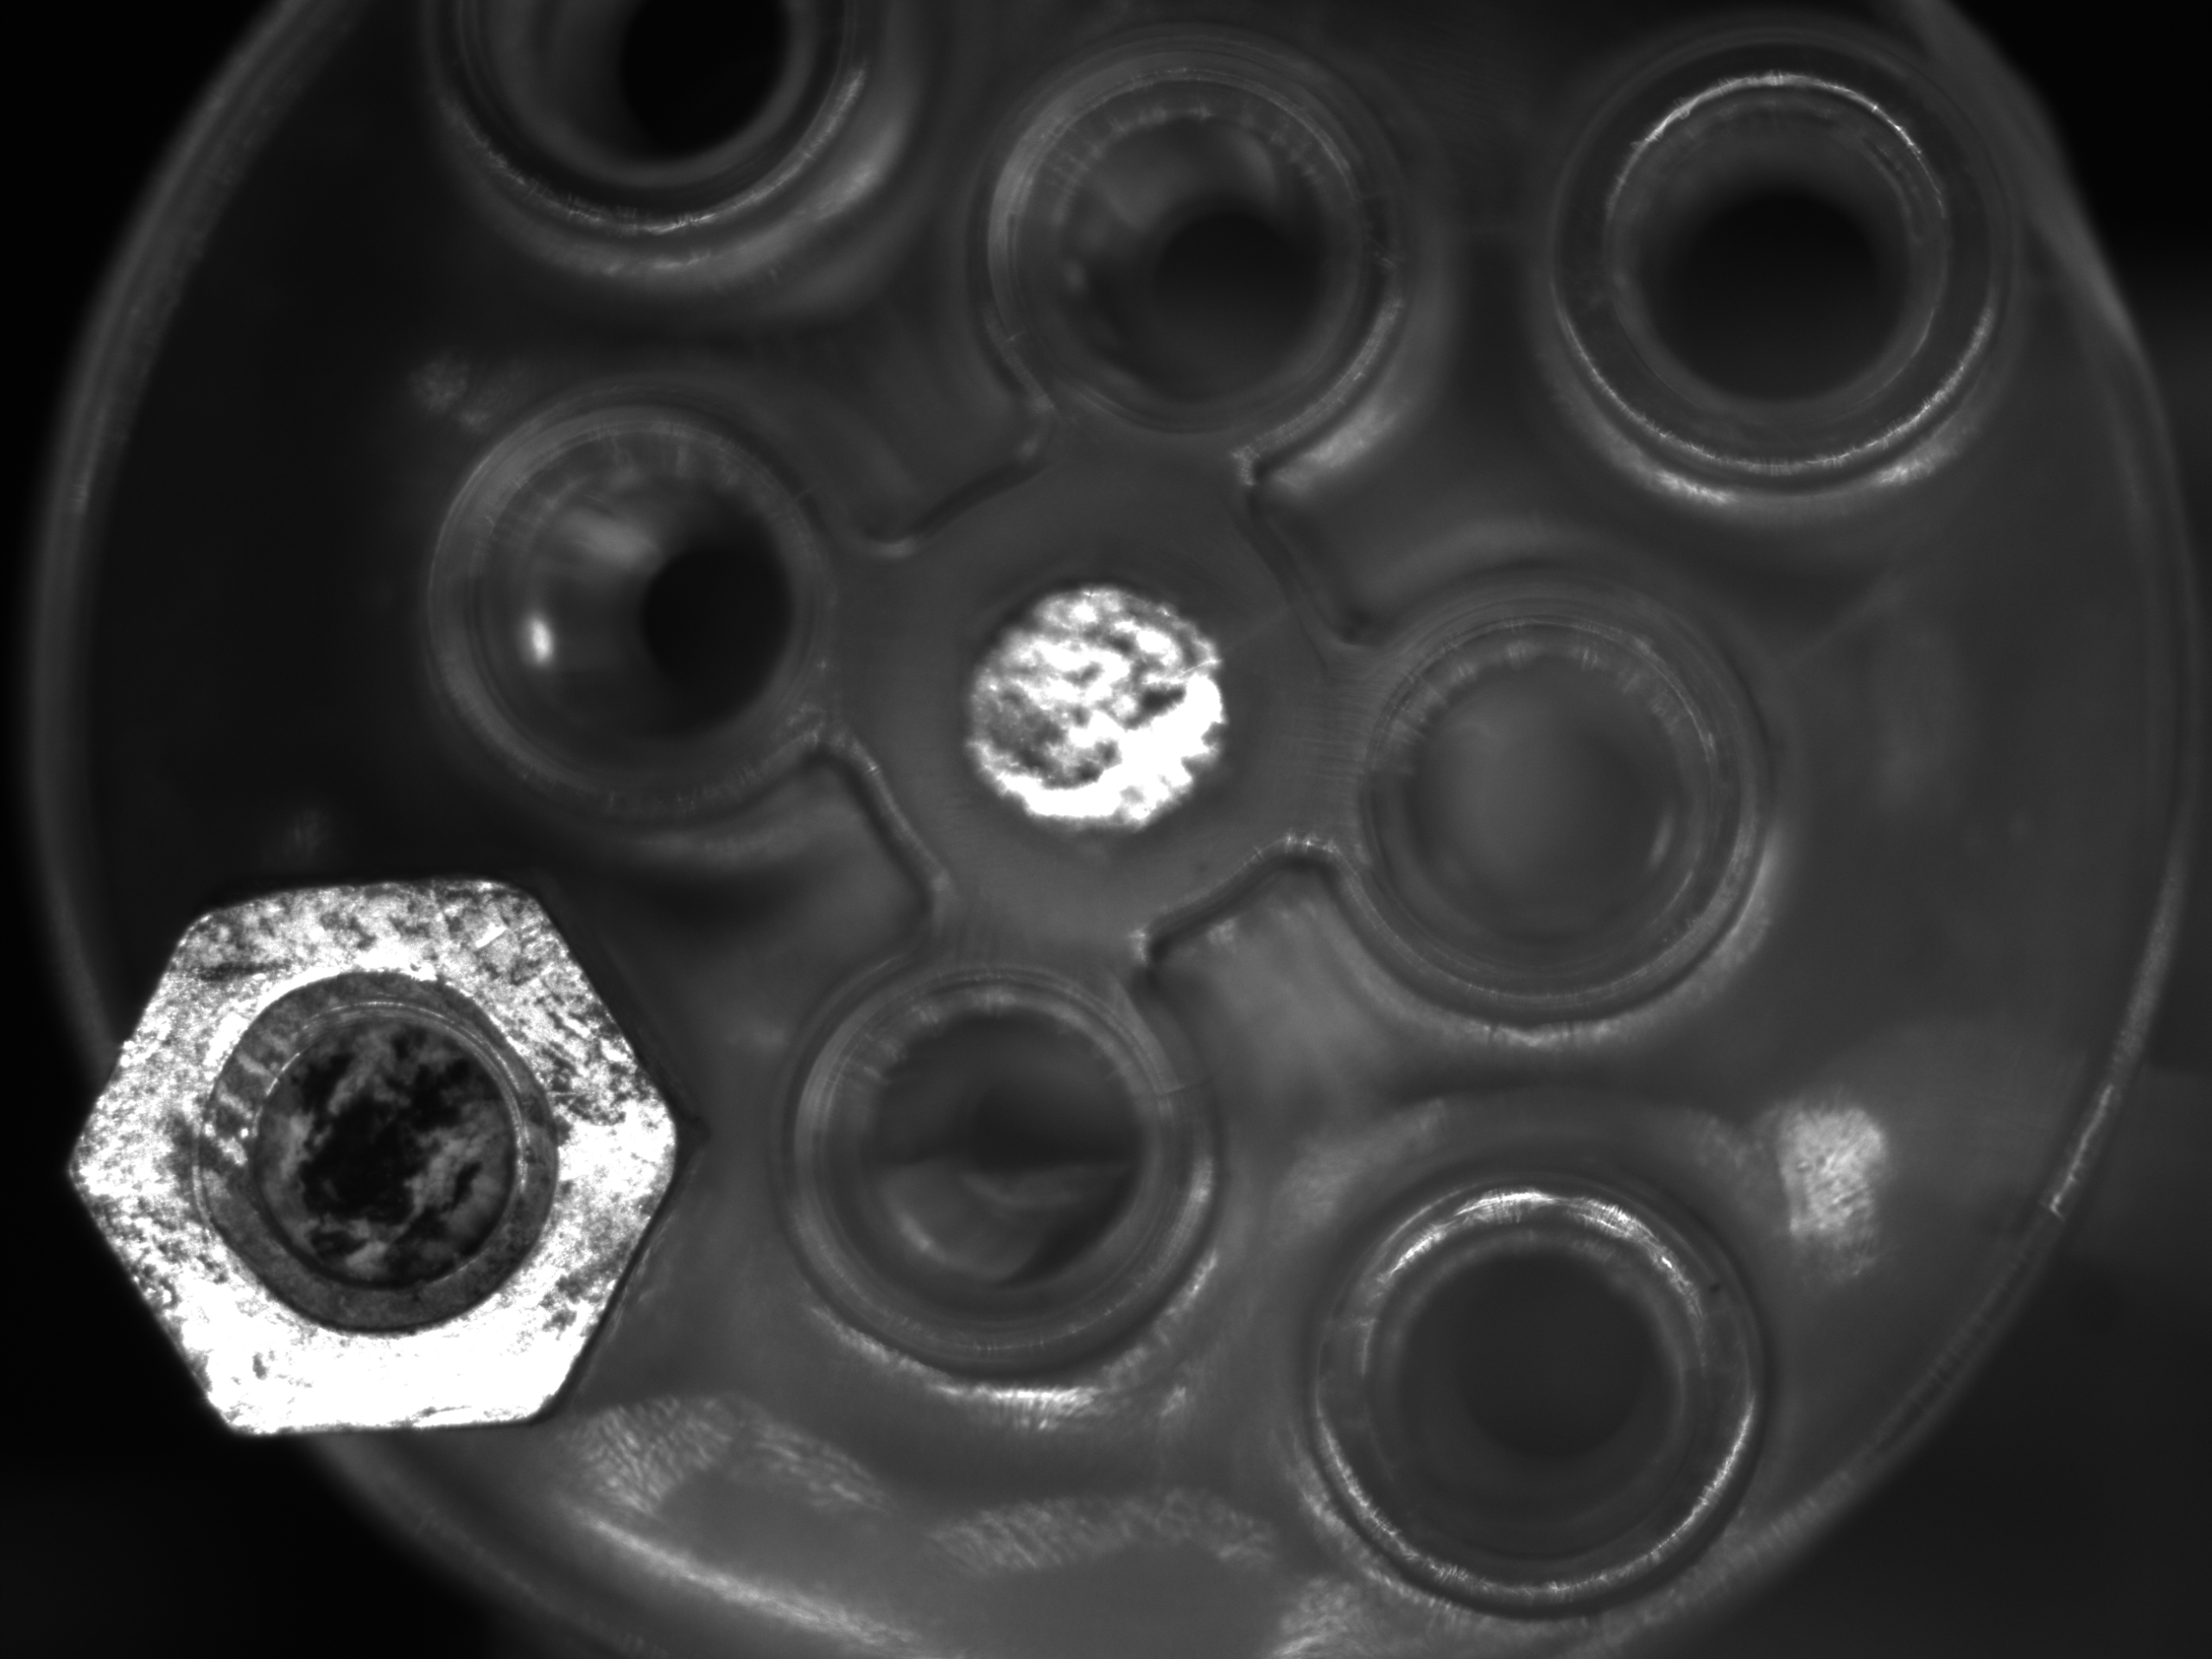
Comparing (1) and (2) confirms that both pipelines produce the same image.
| BitmapSource | Mat | Mat(Binary) |
|---|---|---|
 |
 |
 |
📌 Tips & Common Pitfalls
| Point | Notes |
|---|---|
| Pixel format | For color (BGR8, RGB8), use MatType.CV_8UC3 and correct channel order |
Nothing shows in ImShow |
You must call Cv2.WaitKey(); otherwise the window won’t update |
| OpenCvSharp packages | Install both OpenCvSharp4 and OpenCvSharp4.runtime.windows via NuGet |
| Performance considerations | Pinning buffers is fast, but for very high rates you may want to profile allocations |
✅ Summary
- You can convert Basler pylon
GrabResultto an OpenCVMatviaPixelDataConverterand abyte[]buffer. Cv2.ImShowenables simple live viewing;Cv2.ImWritelets you save images directly fromMat.- Once in
Matform, you can apply the full power of OpenCV: filtering, edge detection, feature extraction, etc.
Author: @MilleVision
コメントを残す