
Boosting Frame Rate with ROI on Basler Cameras Using the pylon SDK (C# / .NET 8)
When developing machine-vision applications, you may find yourself asking:
- “Can I increase the frame rate if I only need a portion of the image?”
- “Can I reduce image size to speed up processing?”
The answer is often yes—by using ROI (Region of Interest).
By reducing the sensor readout area, you can significantly decrease data size and improve achievable frame rate. In this article, we explore how to configure ROI using the Basler pylon SDK in C#, along with real-world comparisons of full-frame vs ROI performance.
✔ What You Will Learn
- How to configure ROI (Region of Interest) on Basler cameras
- How ROI improves frame rate and processing speed
- Common constraints, pitfalls, and error handling
✔ Environment
| Item | Details |
|---|---|
| Camera | Basler acA2500-14gm |
| SDK | Basler pylon Camera Software Suite |
| Lang | C# / .NET 8 (Windows) |
| Lens | VS-LD25N (25 mm C-mount) |
🔍 What Is ROI?
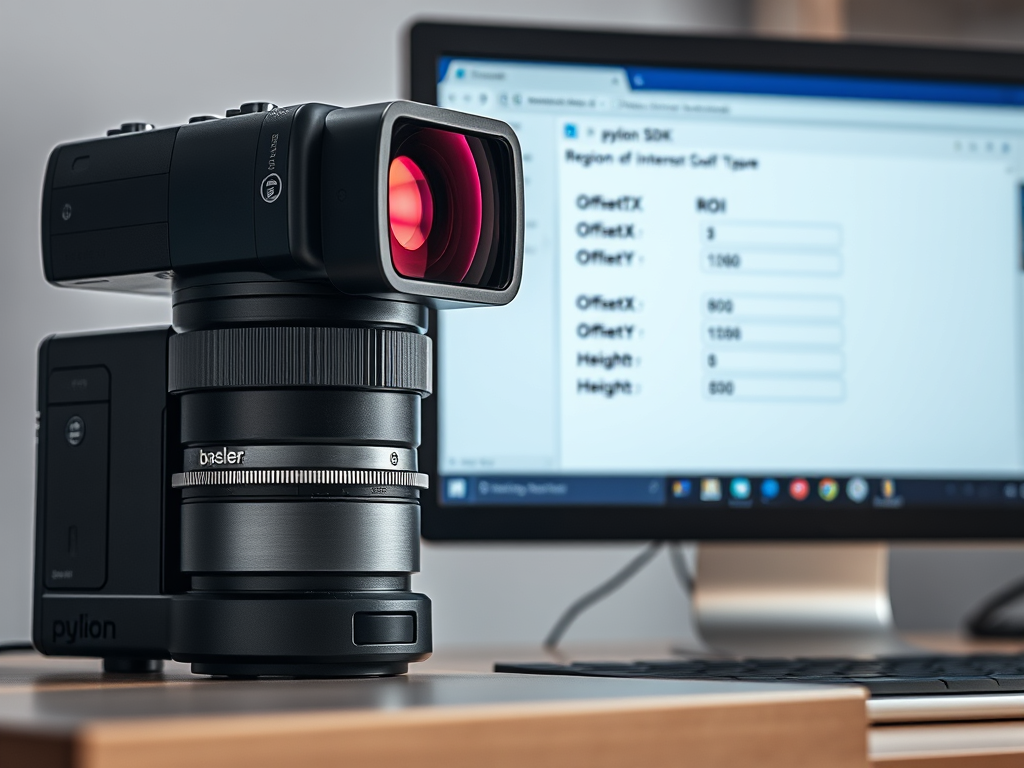
ROI (Region of Interest) defines a rectangular area on the camera sensor that you want to capture. Basler cameras expose four parameters to control ROI:
- OffsetX — horizontal position
- OffsetY — vertical position
- Width — ROI width
- Height — ROI height
Reducing ROI has several benefits:
- Smaller image size
- Shorter readout time → higher potential frame rate
- Faster downstream processing
🔧 Setting ROI in C#
Below are helper methods added to the BaslerCameraSample class from previous articles:
|
1 2 3 4 5 6 7 8 9 10 11 |
public bool SetOffsetX(int offsetX) => SetPLCameraParamter(PLCamera.OffsetX, offsetX); public bool SetOffsetY(int offsetY) => SetPLCameraParamter(PLCamera.OffsetY, offsetY); public bool SetWidth(int width) => SetPLCameraParamter(PLCamera.Width, width); public bool SetHeight(int height) => SetPLCameraParamter(PLCamera.Height, height); |
Setting ROI in one operation
Because ROI must remain inside the sensor boundaries, the order of parameter updates matters.
|
1 2 3 4 5 6 7 8 9 10 11 12 13 14 15 16 17 18 19 20 21 22 23 24 25 26 27 28 29 30 31 32 33 34 35 36 37 38 39 40 41 |
ublic bool SetROI(int offsetX, int offsetY, int width, int height) { if (width <= 0 || height <= 0) throw new ArgumentException(“ROI width and height must be greater than zero.”); if (GetWidth() + offsetX < GetSensorWidth()) { if (!SetOffsetX(offsetX) || !SetWidth(width)) return false; } else { if (!SetWidth(width) || !SetOffsetX(offsetX)) return false; } if (GetHeight() + offsetY < GetSensorHeight()) { if (!SetOffsetY(offsetY) || !SetHeight(height)) return false; } else { if (!SetHeight(height) || !SetOffsetY(offsetY)) return false; } return true; } public int GetWidth() => (int)GetPLCameraParamter(PLCamera.Width); public int GetHeight() => (int)GetPLCameraParamter(PLCamera.Height); public int GetSensorWidth() => (int)GetPLCameraParamter(PLCamera.SensorWidth); public int GetSensorHeight() => (int)GetPLCameraParamter(PLCamera.SensorHeight); |
ROI using Rect (WPF)
|
1 2 3 4 |
using Windows; public bool SetROI(Rect roi) => SetROI((int)roi.X, (int)roi.Y, (int)roi.Width, (int)roi.Height); |
📈 Why ROI Increases Frame Rate
Sensor readout time is almost always proportional to the number of pixels captured. Reducing the readout area:
- Lowers pixel count
- Reduces required bandwidth
- Allows the camera to reach higher frame rates
This effect is independent of exposure time, so even long exposures benefit from faster readout afterward.
✔ Constraints When Setting ROI
| Parameter | Notes |
|---|---|
| Width / Height | Many Basler models require values to follow a specific increment (2, 4, 8, 16… depending on sensor) |
| OffsetX / OffsetY | Must not exceed sensor boundaries |
To inspect the increment value:
|
1 2 3 4 5 6 7 8 9 10 11 12 13 14 |
public long GetInc(IntegerName parameter) { if (Camera == null || !IsConnected) throw new InvalidOperationException(“Camera is not connected.”); if (Camera.Parameters[parameter].IsReadable) { long inc = Camera.Parameters[parameter].GetIncrement(); Console.WriteLine($“{parameter} increment: {inc}”); return inc; } throw new InvalidOperationException($“{parameter} is not readable.”); } |
Example test:
|
1 2 3 4 5 6 7 8 9 10 11 12 |
[TestMethod()] public void GetIncTest() { if (!_baslerCameraSample.IsConnected) _baslerCameraSample.Connect(); var incWidth = _baslerCameraSample.GetInc(PLCamera.Width); Assert.AreEqual(1, incWidth); var incHeight = _baslerCameraSample.GetInc(PLCamera.Height); Assert.AreEqual(1, incHeight); } |
📏 Testing Frame Rate with ROI
|
1 2 3 4 5 6 7 8 9 10 11 12 13 14 15 16 17 18 19 20 21 |
static BaslerCameraSample _baslerCameraSample = new BaslerCameraSample(); [TestMethod()] public void SetROITest() { _baslerCameraSample.Connect(); _baslerCameraSample.EnableFrameRate(true); _baslerCameraSample.SetFrameRate(30); // 30 fps target _baslerCameraSample.SetROI(1246, 1200, 640, 480); var fps1 = _baslerCameraSample.GetResultingFrameRate(); _baslerCameraSample.BurstCapture(5, “ROITest_640x480”); _baslerCameraSample.SetROI(0, 0, 2592, 1944); var fps2 = _baslerCameraSample.GetResultingFrameRate(); _baslerCameraSample.BurstCapture(5, “ROITest_2592x1944”); Console.WriteLine($“FPS with ROI: {fps1:F2}, full-frame FPS: {fps2:F2}”); Assert.IsTrue(fps1 > fps2); } |
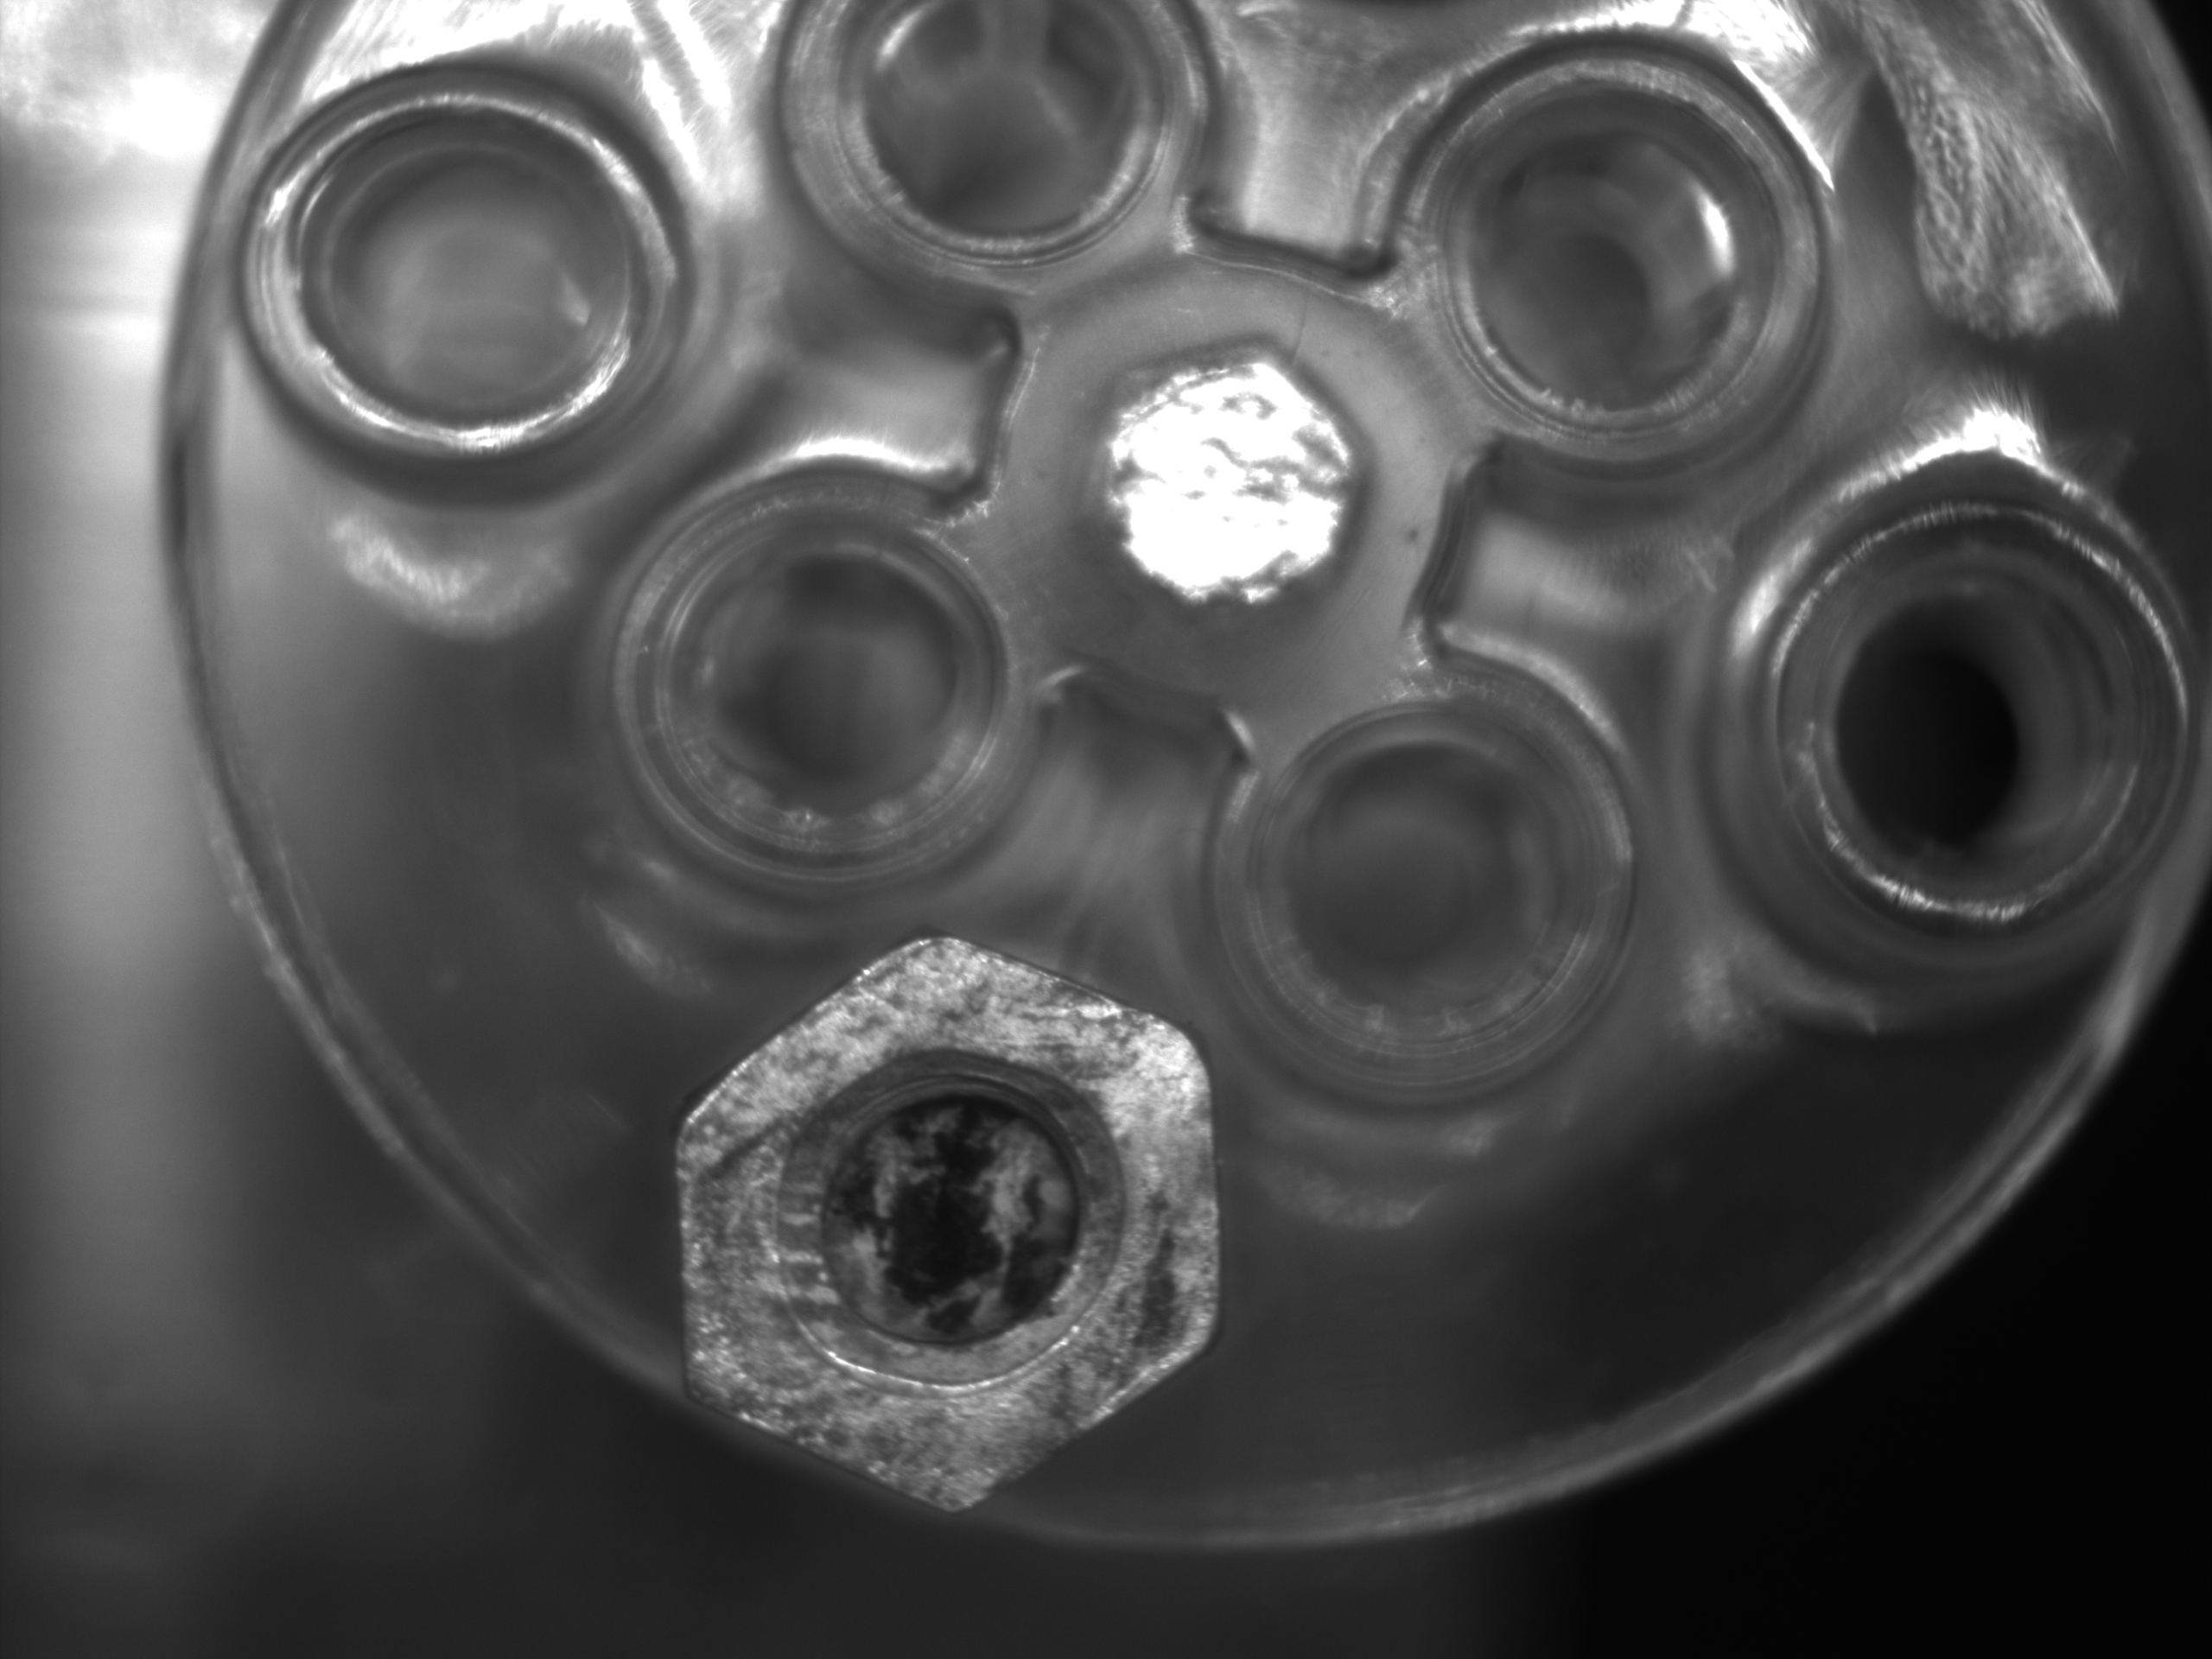
🧪 Real-World Comparison
Full Resolution (2592 × 1944)
Frame timestamps demonstrate slower readout:
| Frame | 0 | 1 | 2 | 3 | 4 |
|---|---|---|---|---|---|
| T [ms] | 72 | 140 | 209 | 277 | 346 |
 |
 |
 |
 |
 |
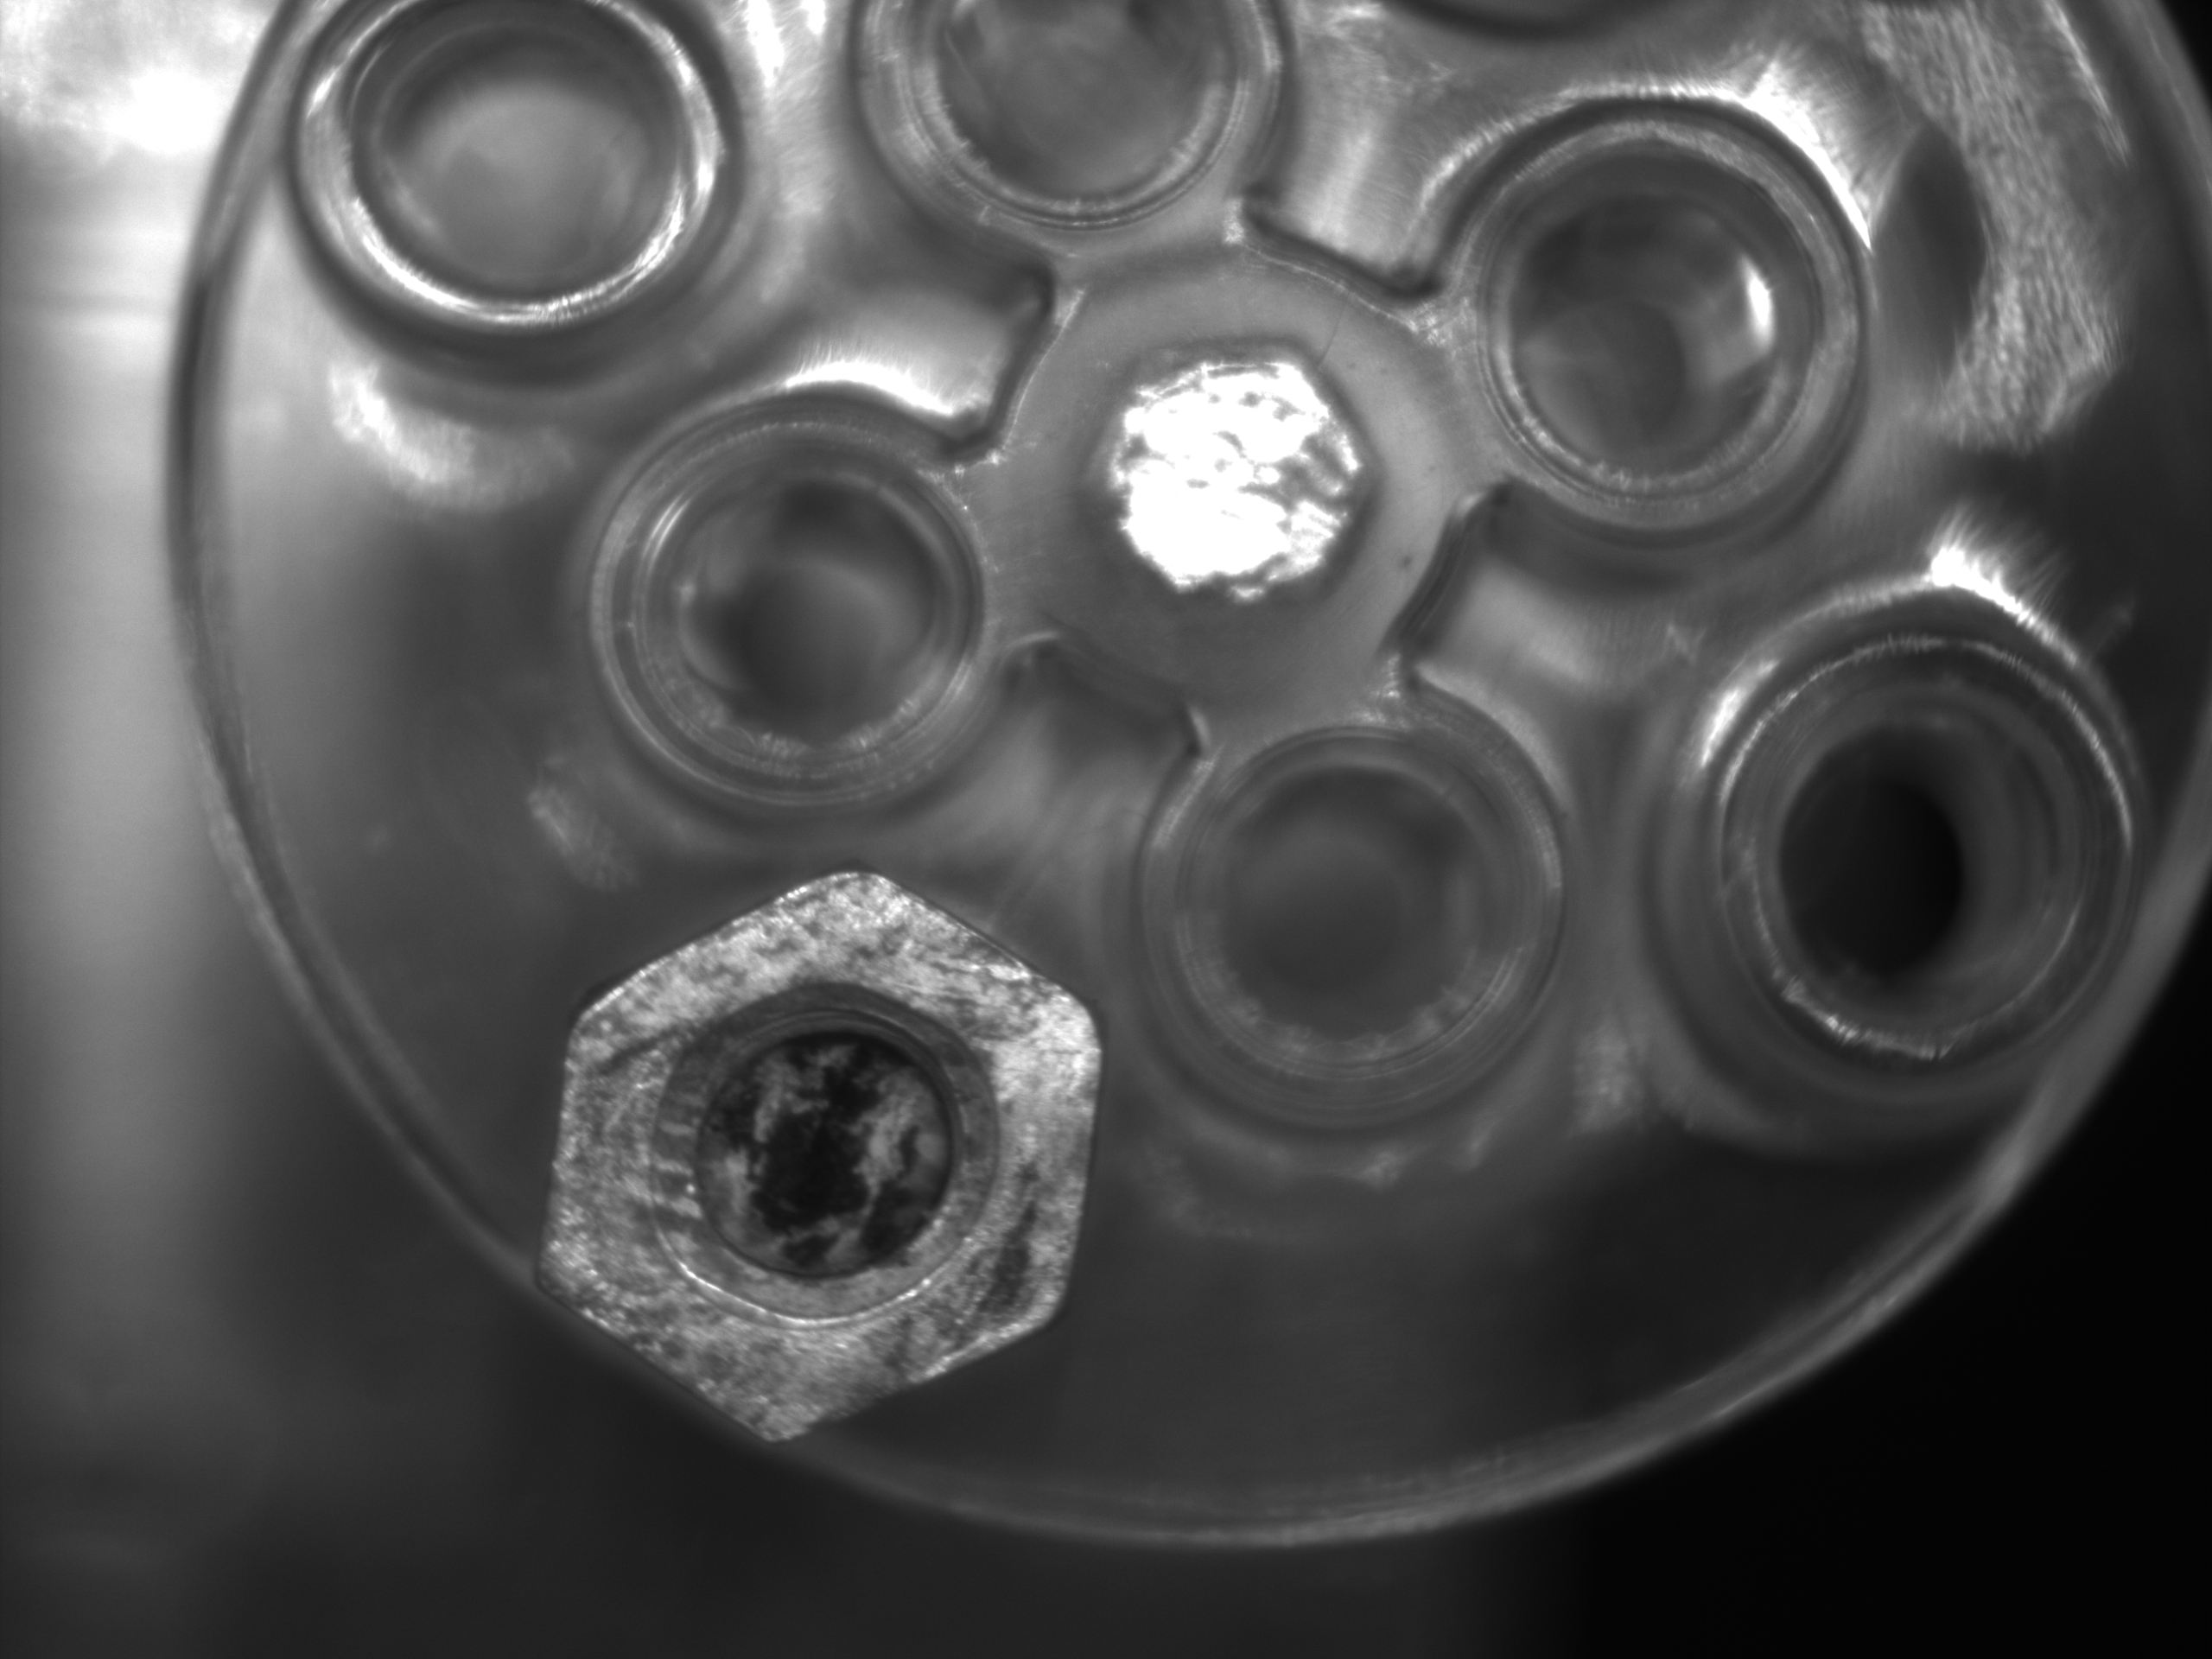
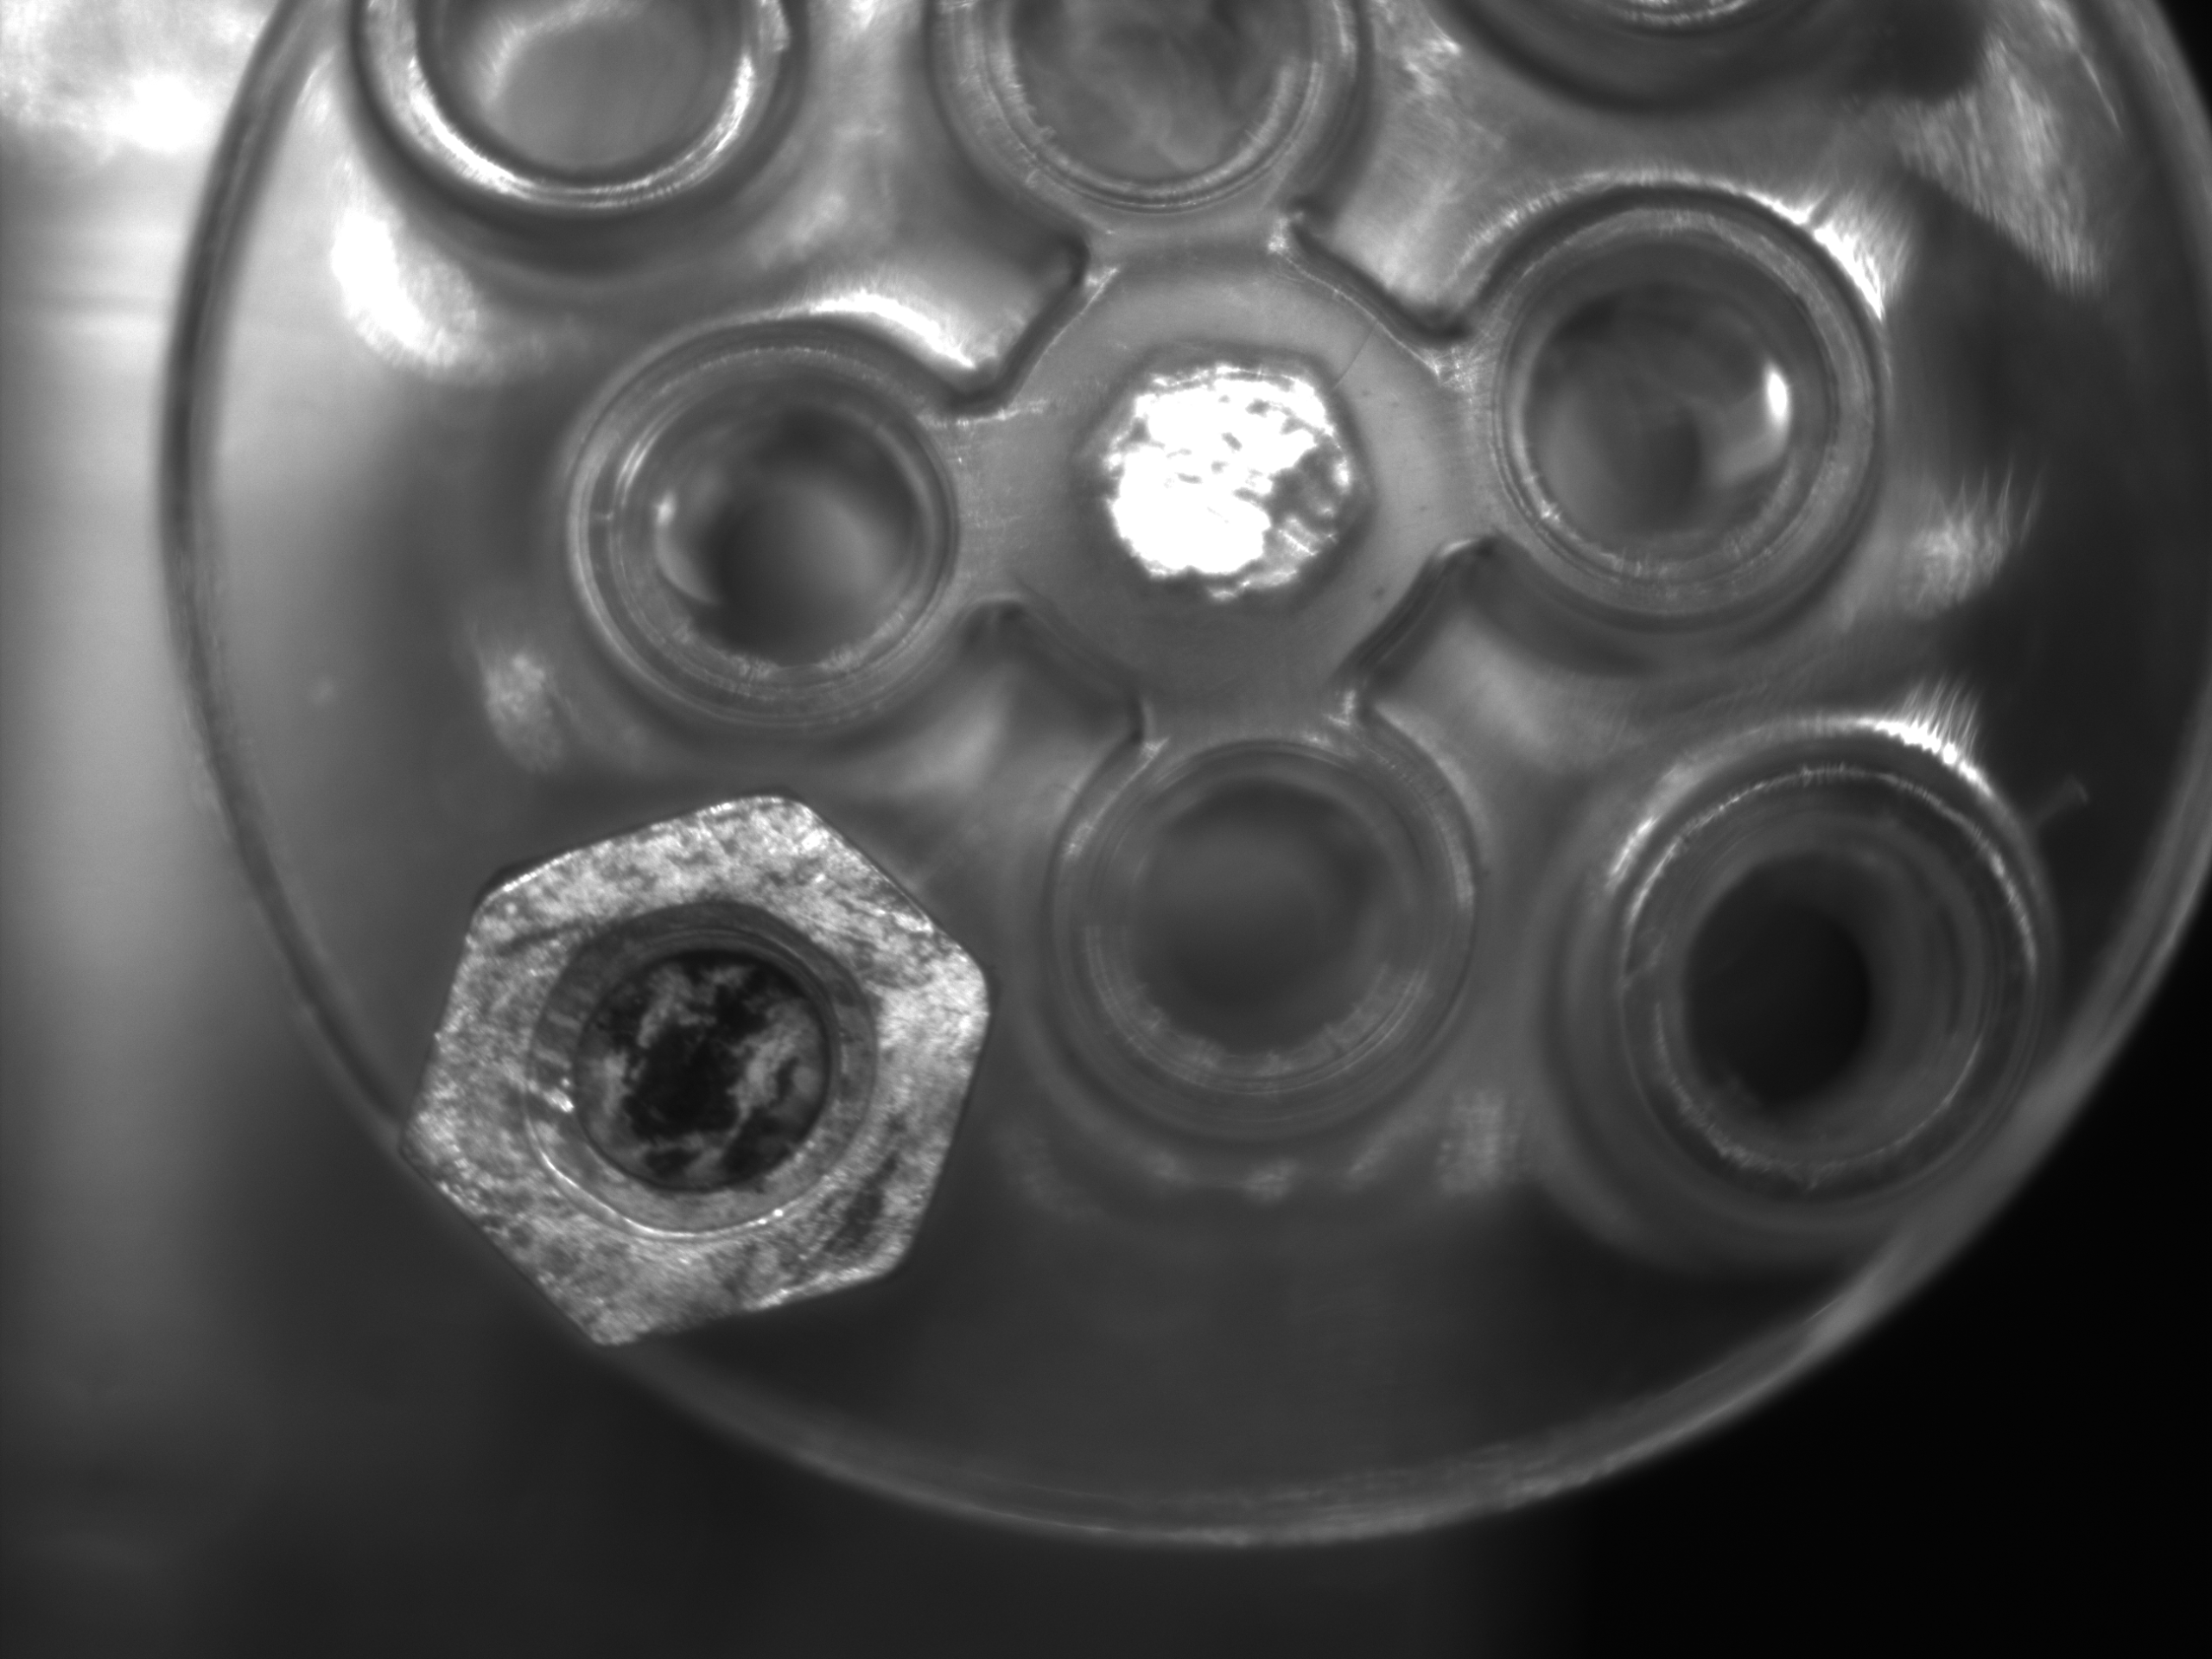
ROI (640 × 480)
| Frame | 0 | 1 | 2 | 3 | 4 |
|---|---|---|---|---|---|
| T [ms] | 23 | 67 | 87 | 120 | 154 |
 |
 |
 |
 |
 |
Summary Comparison
| Mode | Resolution | Resulting Frame Rate |
|---|---|---|
| Full Frame | 2592×1944 | ~14.6 fps |
| ROI | 640×480 | ~30.0 fps |
→ ROI doubles the effective frame rate in this test.
⚠️ Common Errors & Solutions
| Issue | Cause |
|---|---|
InvalidParameterException |
ROI exceeds sensor bounds, or width/height violates increments |
| No frames after setting ROI | Some camera models require reinitialization after ROI changes |
📝 Summary
- ROI can significantly reduce readout time and increase frame rate
- Combining ROI with proper frame-rate settings improves real-time performance
- Pay attention to width/height increments and sensor boundaries
- Ideal for speeding up burst capture and reducing processing load
筆者: @MilleVision
📦 Full Sample Code Package
👉 https://millevision.booth.pm/items/7316233 Includes ROI, burst capture, trigger control, and full pylon SDK integration.(With Japanese Comment)
コメントを残す