
How to Capture a Single Image from Basler ace Camera using pylon SDK in C#
Basler industrial cameras can be controlled easily using the pylon Camera Software Suite.
In this article, I’ll show you how to connect to a camera, grab a single frame, convert it to a BitmapSource, and save it as a .bmp file—all using C# and .NET 8.
When I first started working with Basler cameras in a .NET environment, I found very few practical code examples.
This guide is based on tested code from my own applications.
This article covers:
- Connecting to a camera
- Capturing one frame (Snap)
- Converting to
BitmapSource(WPF-friendly) - Saving the image as
.bmp
⚠️ Important Notice
This article demonstrates how to develop custom applications using the Basler pylon Camera Software Suite SDK.
- The content here is based on my own testing and implementation
- It is not endorsed by Basler AG
- The SDK itself is not redistributed here (no DLLs, headers, etc.)
To use the SDK, download it directly from Basler’s official website:
🔗 pylon SDK download
https://www.baslerweb.com/en/products/software/basler-pylon-camera-software-suite/
Make sure to review the EULA, especially if using the SDK in commercial or high-risk environments:
https://www.baslerweb.com/en/service/eula/
The sample code in this article is provided strictly for learning and reference. Use it at your own responsibility.
✔ Environment
| Item | Details |
|---|---|
| SDK | Basler pylon Camera Software Suite |
| Language | C# (.NET 8.0 — Windows) |
| Camera | Basler acA2500-14gm |
| OS | Windows 10 / 11 |
1. Connecting to the Camera
First, create a simple wrapper class for managing the connection.
You can connect to the first available camera or use a specified camera name (as shown in Basler pylon Viewer).
|
1 2 3 4 5 6 7 8 9 10 11 12 13 14 15 16 17 18 19 20 21 22 23 24 25 26 27 28 29 30 31 32 33 34 35 36 37 38 39 40 41 42 43 44 45 46 47 48 49 50 51 52 53 54 55 |
using System; using Basler.Pylon; namespace BaslerSamples { public class BaslerCameraSample { public Camera? Camera { get; private set; } public bool IsConnected => Camera?.IsConnected ?? false; public bool Connect() { var camera = new Camera(); return ConnectInternal(camera); } public bool Connect(string cameraName) { try { var camera = new Camera(cameraName); return ConnectInternal(camera); } catch (InvalidOperationException e) { Console.WriteLine($“Failed to create camera. Message: {e.Message}”); return false; } } private bool ConnectInternal(Camera camera) { try { camera.Open(); if (camera.IsOpen) { Console.WriteLine(“Camera connected successfully.”); Camera = camera; return true; } else { Console.WriteLine(“Failed to open camera.”); return false; } } catch (Exception ex) { Console.WriteLine($“Error connecting to camera: {ex.Message}”); return false; } } } } |
2. Capturing a Single Image
The simplest way to grab one frame is by calling GrabOne() through the Stream Grabber.
|
1 2 3 4 5 6 7 8 9 10 11 12 13 14 |
public IGrabResult Snap(int timeoutMs = 5000) { if (Camera == null) throw new InvalidOperationException(“Camera is not connected.”); var streamGrabber = Camera.StreamGrabber ?? throw new InvalidOperationException(“StreamGrabber is not available.”); var grabResult = streamGrabber.GrabOne(timeoutMs); if (grabResult != null && grabResult.GrabSucceeded) return grabResult; else throw new Exception(“Failed to grab image: “ + (grabResult?.ErrorDescription ?? “Unknown error”)); } |
3. Converting to BitmapSource (for WPF)
IGrabResult cannot be displayed directly in WPF.
We convert it to a BitmapSource using PixelDataConverter.
|
1 2 3 4 5 6 7 8 9 10 11 12 13 14 15 16 17 18 19 20 21 22 23 24 25 26 |
using System.Windows.Media; using System.Windows.Media.Imaging; public BitmapSource SnapToBitmapSource(int timeoutMs = 5000) { using IGrabResult grabResult = Snap(timeoutMs); PixelDataConverter converter = new(); var (outputType, pixelFormat, bytesPerPixel) = grabResult.PixelTypeValue switch { PixelType.RGB8packed => (PixelType.RGB8packed, PixelFormats.Rgb24, 3), PixelType.BGR8packed => (PixelType.BGR8packed, PixelFormats.Bgr24, 3), _ => (PixelType.Mono8, PixelFormats.Gray8, 1), }; converter.OutputPixelFormat = outputType; int width = grabResult.Width; int height = grabResult.Height; int stride = width * bytesPerPixel; byte[] buffer = new byte[stride * height]; converter.Convert(buffer, grabResult); return BitmapSource.Create(width, height, 96, 96, pixelFormat, null, buffer, stride); } |
Supports:
RGB8packedBGR8packedMono8(default fallback)
4. Saving the Image as .bmp
A simple helper method using BmpBitmapEncoder:
|
1 2 3 4 5 6 7 |
public static void SaveBitmap(BitmapSource bitmap, string filePath) { using FileStream fileStream = new(filePath, FileMode.Create); var encoder = new BmpBitmapEncoder(); encoder.Frames.Add(BitmapFrame.Create(bitmap)); encoder.Save(fileStream); } |
5. Example Test Code
You can easily test the entire pipeline (grab → convert → save) using the following:
|
1 2 3 4 5 6 7 8 9 10 11 12 13 14 |
static BaslerCameraSample _baslerCameraSample = new BaslerCameraSample(); [TestMethod()] public void SnapToBitmapSourceTest() { if (!_baslerCameraSample.IsConnected) _baslerCameraSample.Connect(); var result = _baslerCameraSample.SnapToBitmapSource(1234); Assert.IsNotNull(result); BaslerCameraSample.SaveBitmap(result, “SaveBitmapTest.bmp”); Assert.IsTrue(File.Exists(“SaveBitmapTest.bmp”)); } |
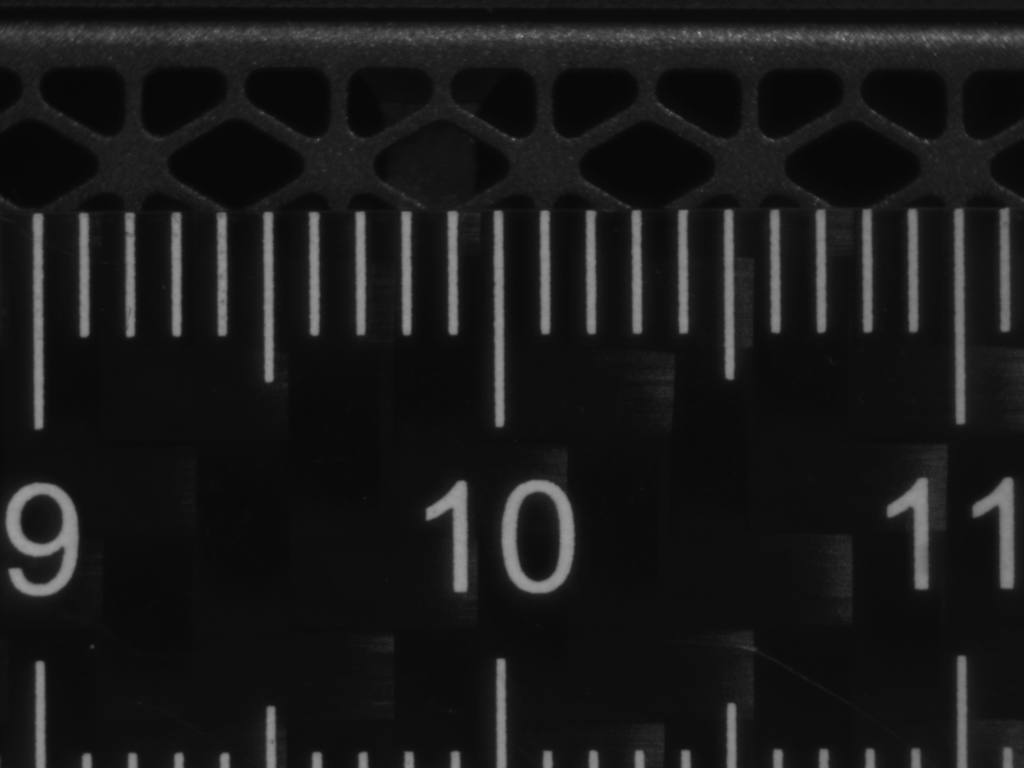
✔ Output Example
The captured image will be saved as:SaveBitmapTest.bmp
Example output:
(Image from the original article)
✨ Conclusion
Although official documentation covers the basics, hands-on .NET examples for pylon are still relatively rare.
Fortunately, pylon’s .NET API is clean and integrates smoothly with Windows desktop applications such as WPF.
コメントを残す